20 Ways to Display Your Collectibles in an Organized Manner
Clean Displays for Gaming Collectibles
A good display for collectibles should make your favorite pieces easy to see, rather than buried behind cables, boxes, and forgotten items. Gaming and tech collections can be tricky to arrange because they often mix sturdy hardware with delicate paper, aging plastic, loose cords, small parts, and packaging that doesn’t stack as neatly as you’d like. The goal is to create a display that looks appealing while also protecting the items from dust, sunlight, heat, crowding, and everyday bumps. You don’t need a custom game room or expensive cases to achieve this. Here are 20 ideas to help you showcase your collectibles in a cleaner, safer, and more organized way.
1. Take Stock of Your Collection
Before purchasing any shelves or storage bins, take a good look at what you already have. Sort your games, consoles, figures, manuals, art prints, controllers, cables, and accessories by category. This will help you see what deserves display space and what can be stored nearby.
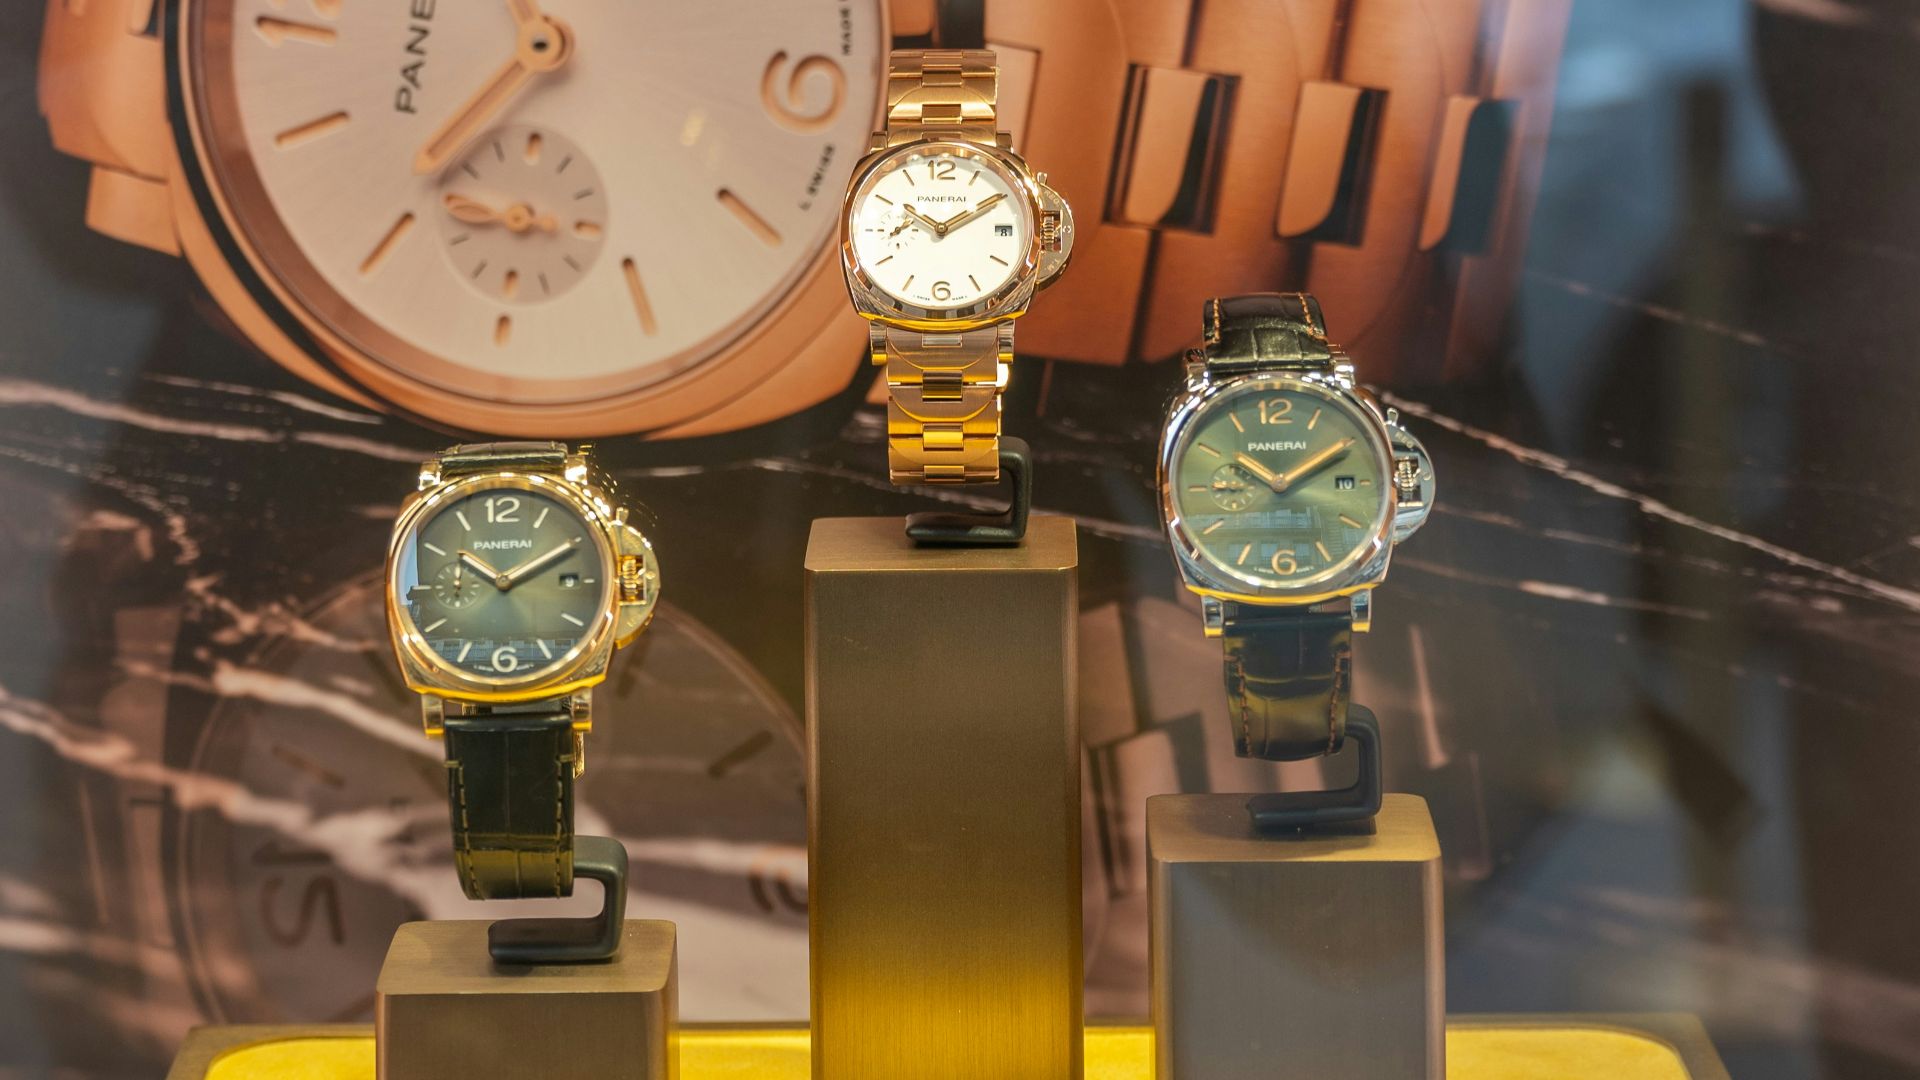
2. Place the Best Pieces at Eye Level
Reserve eye-level shelves for the items you most want people to notice. A boxed launch console, rare figure, signed print, or favorite handheld will stand out much better when not squeezed between spare cords and random accessories.

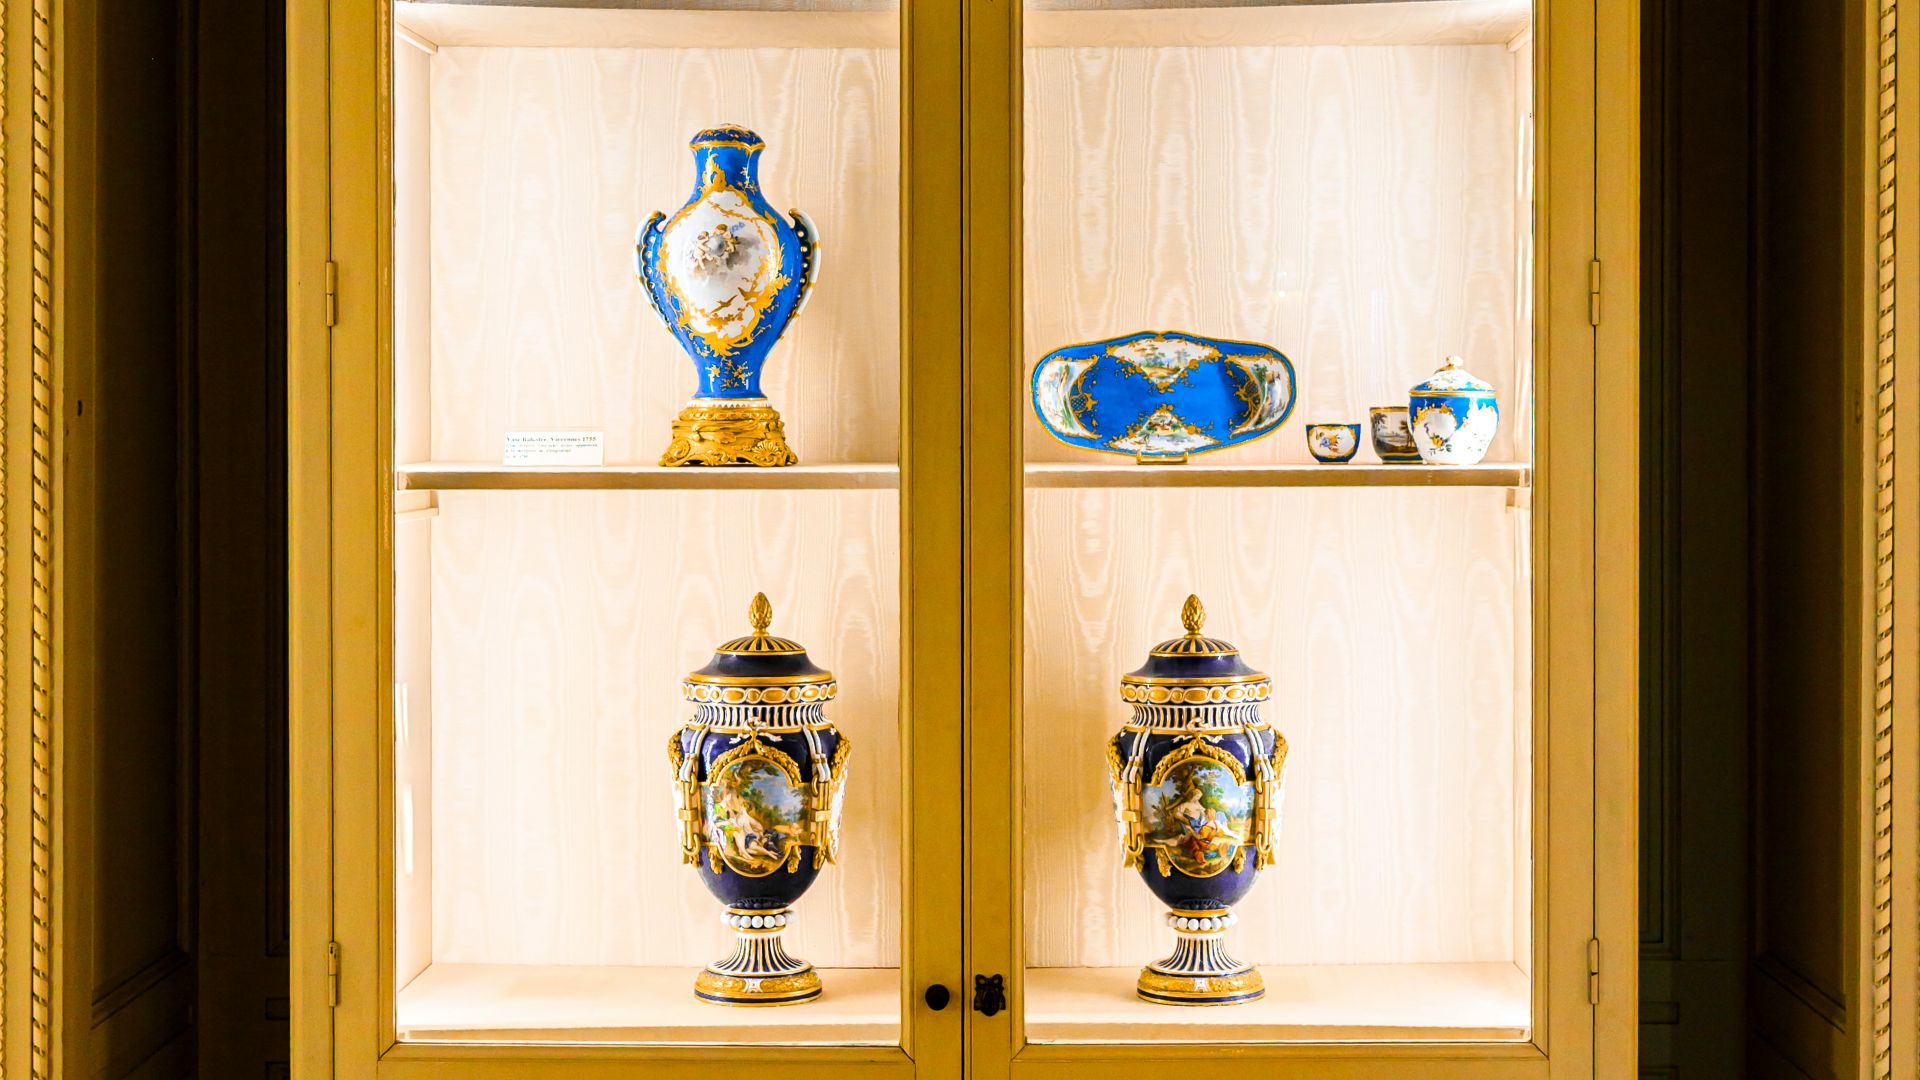
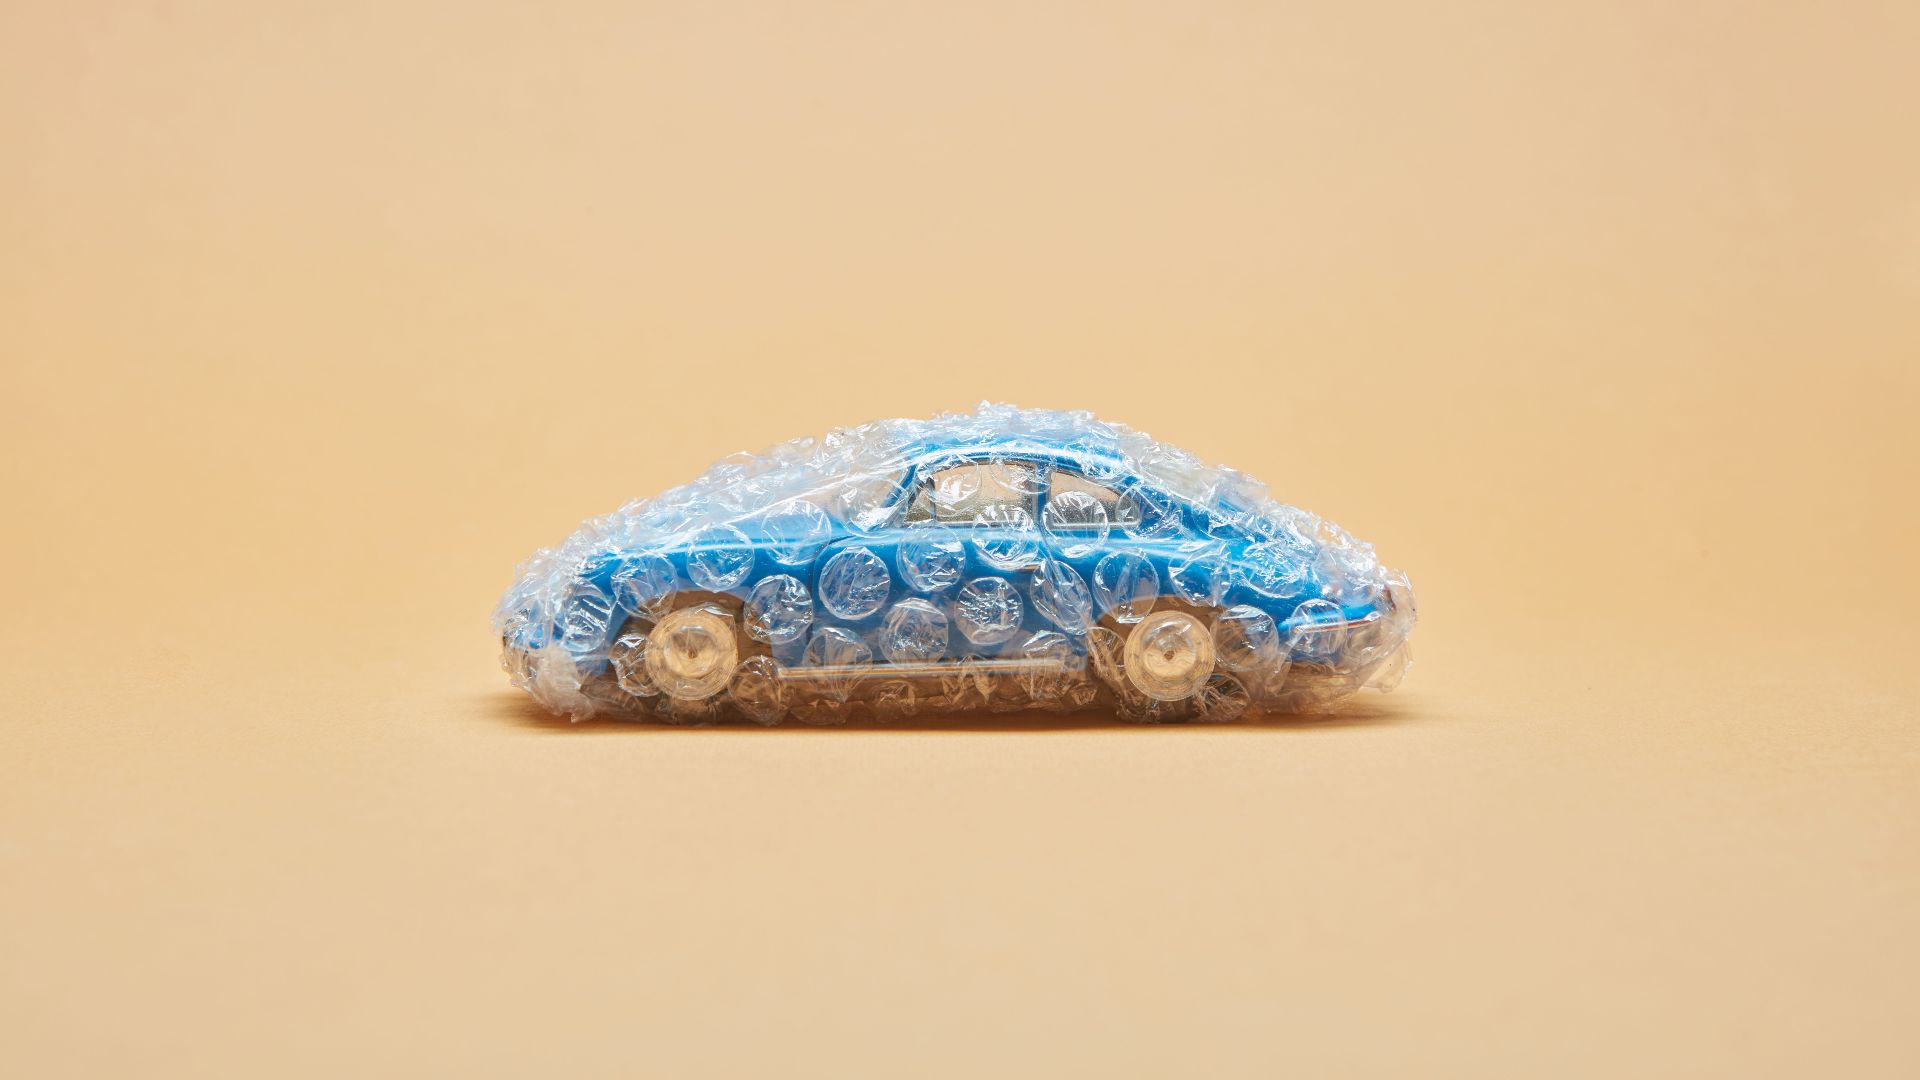
3. Use Closed Cases for Dust-Prone Items
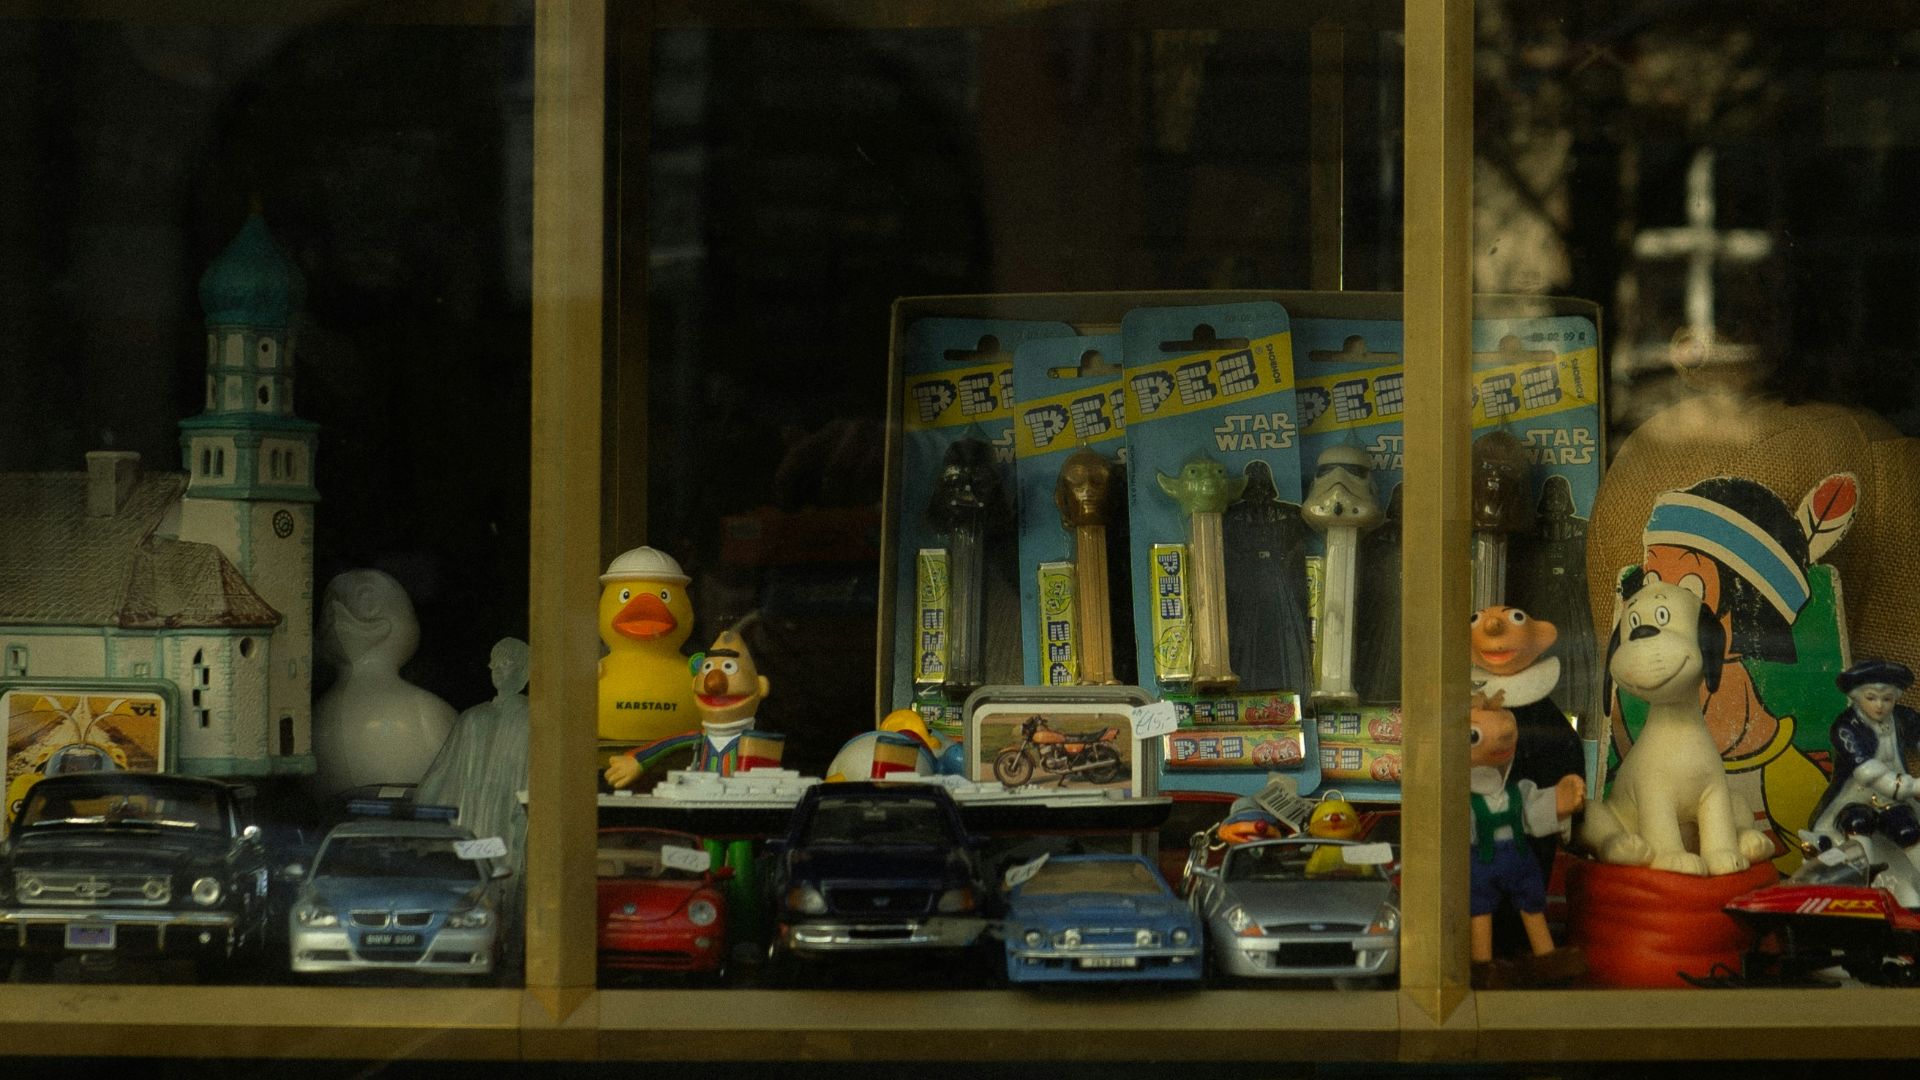
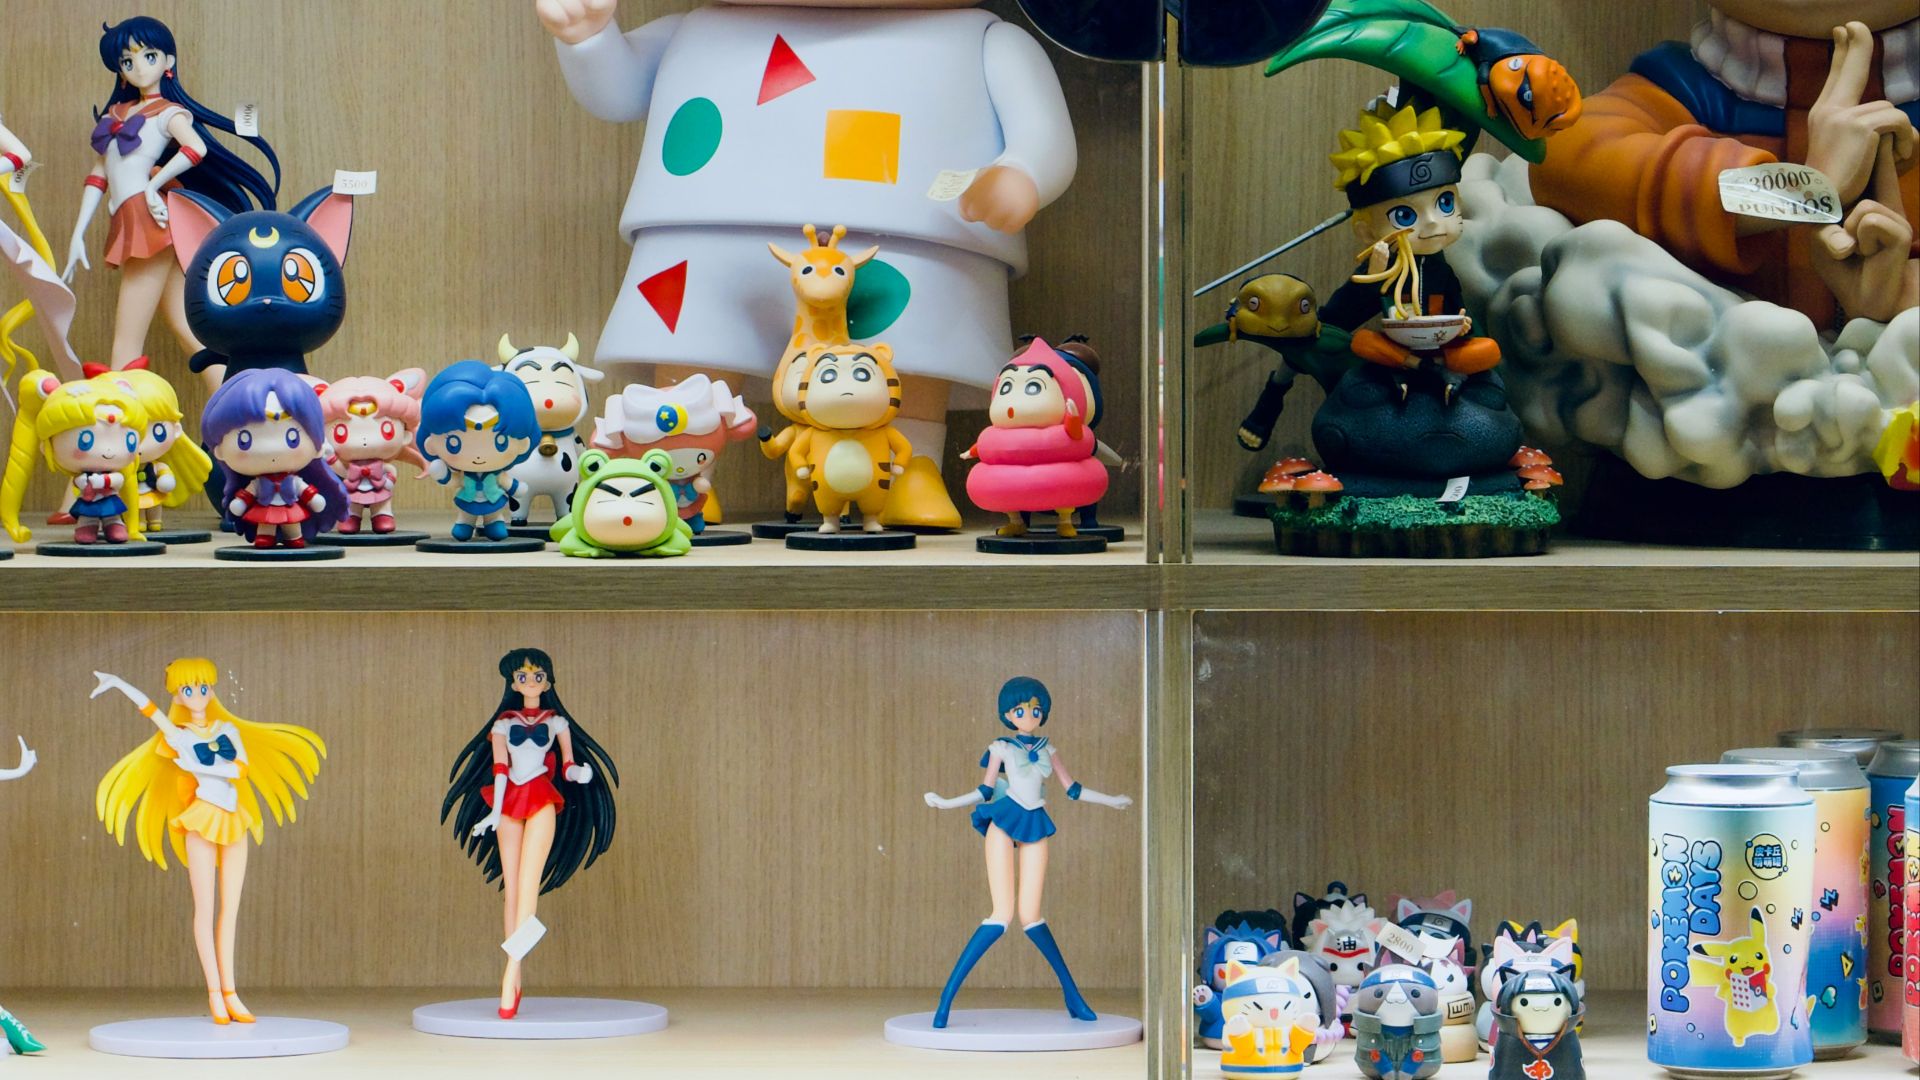
Figures, boxed games, small statues, and delicate tech collectibles often look neater inside glass or acrylic cases. Closed cases can reduce dust and casual handling, which is especially helpful for pieces with tiny parts, glossy finishes, or packaging you want to keep pristine.
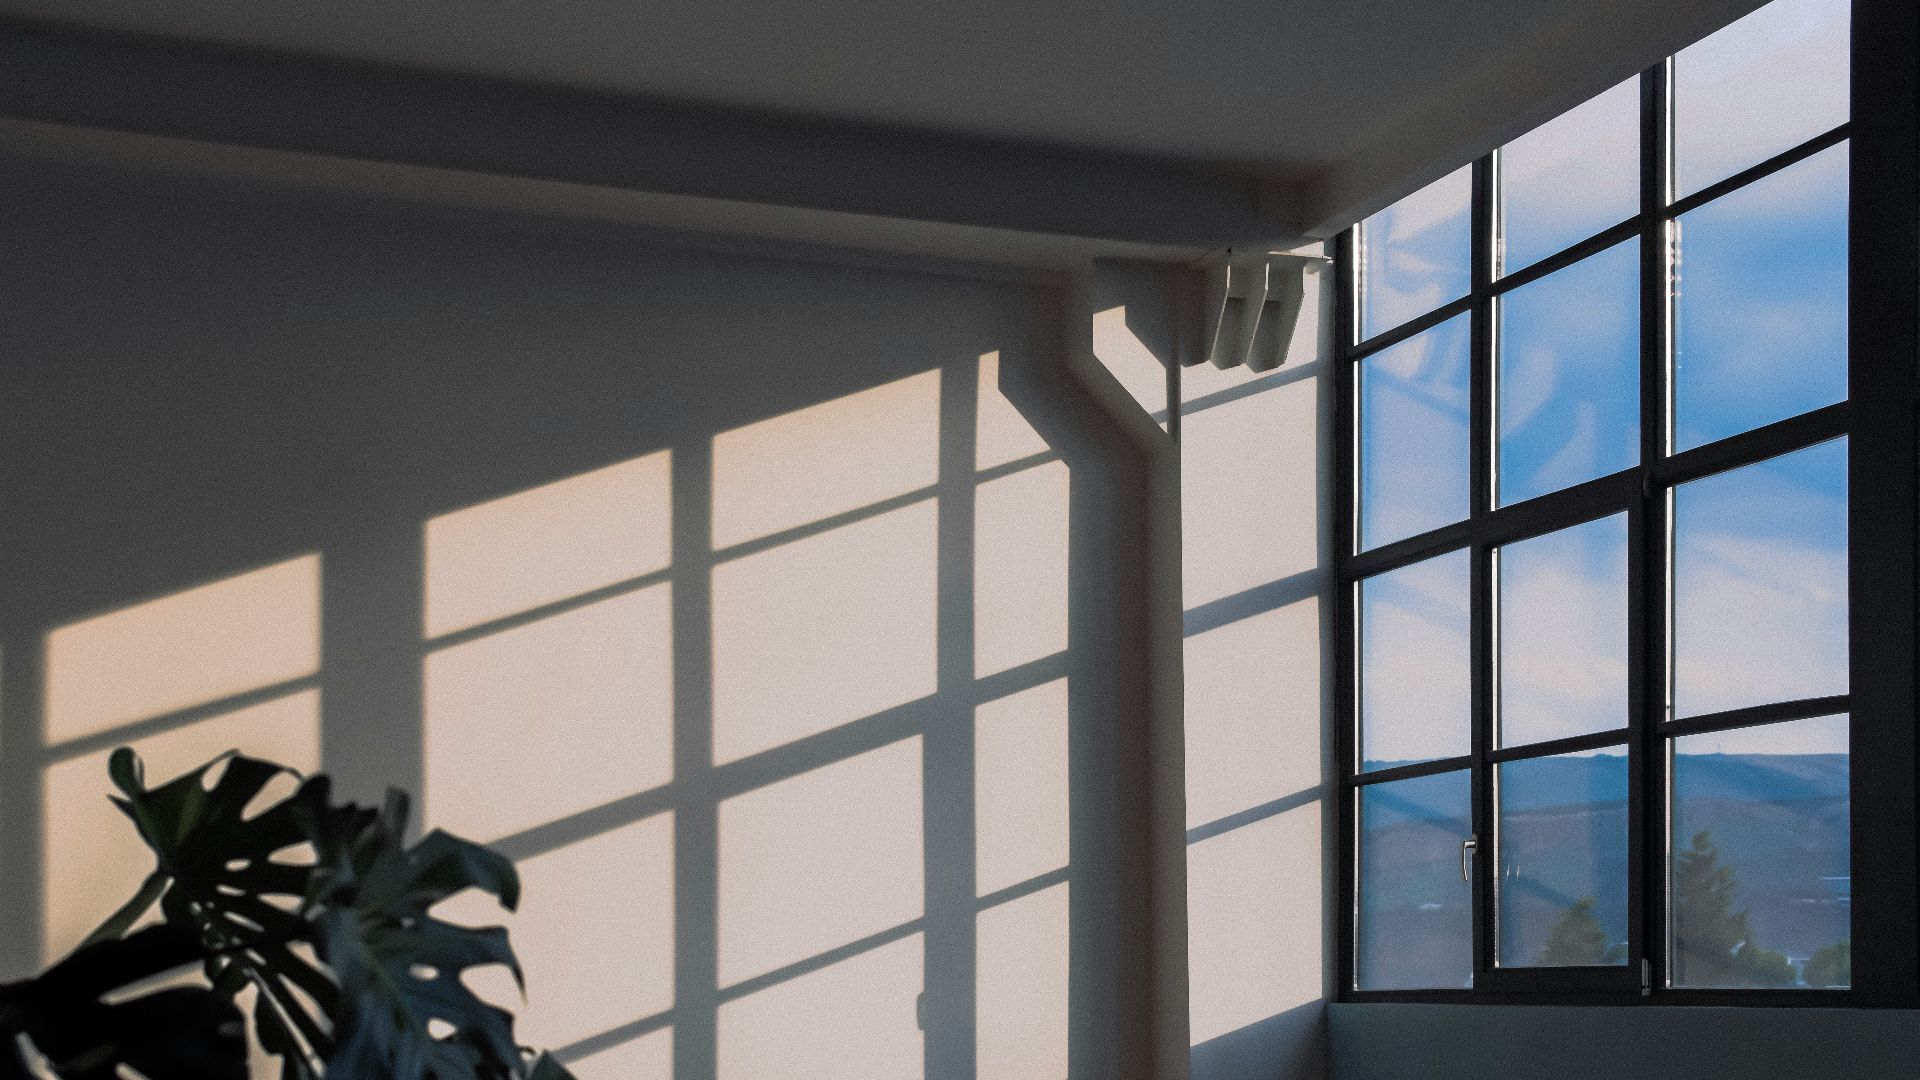
4. Keep Sunlight At Bay
Direct sunlight can fade printed artwork, discolor plastic, and cause paper-based collectibles to age more quickly. Try to position shelves away from bright windows, particularly if you’re displaying boxed games, posters, manuals, older consoles, or light-colored plastic shells.
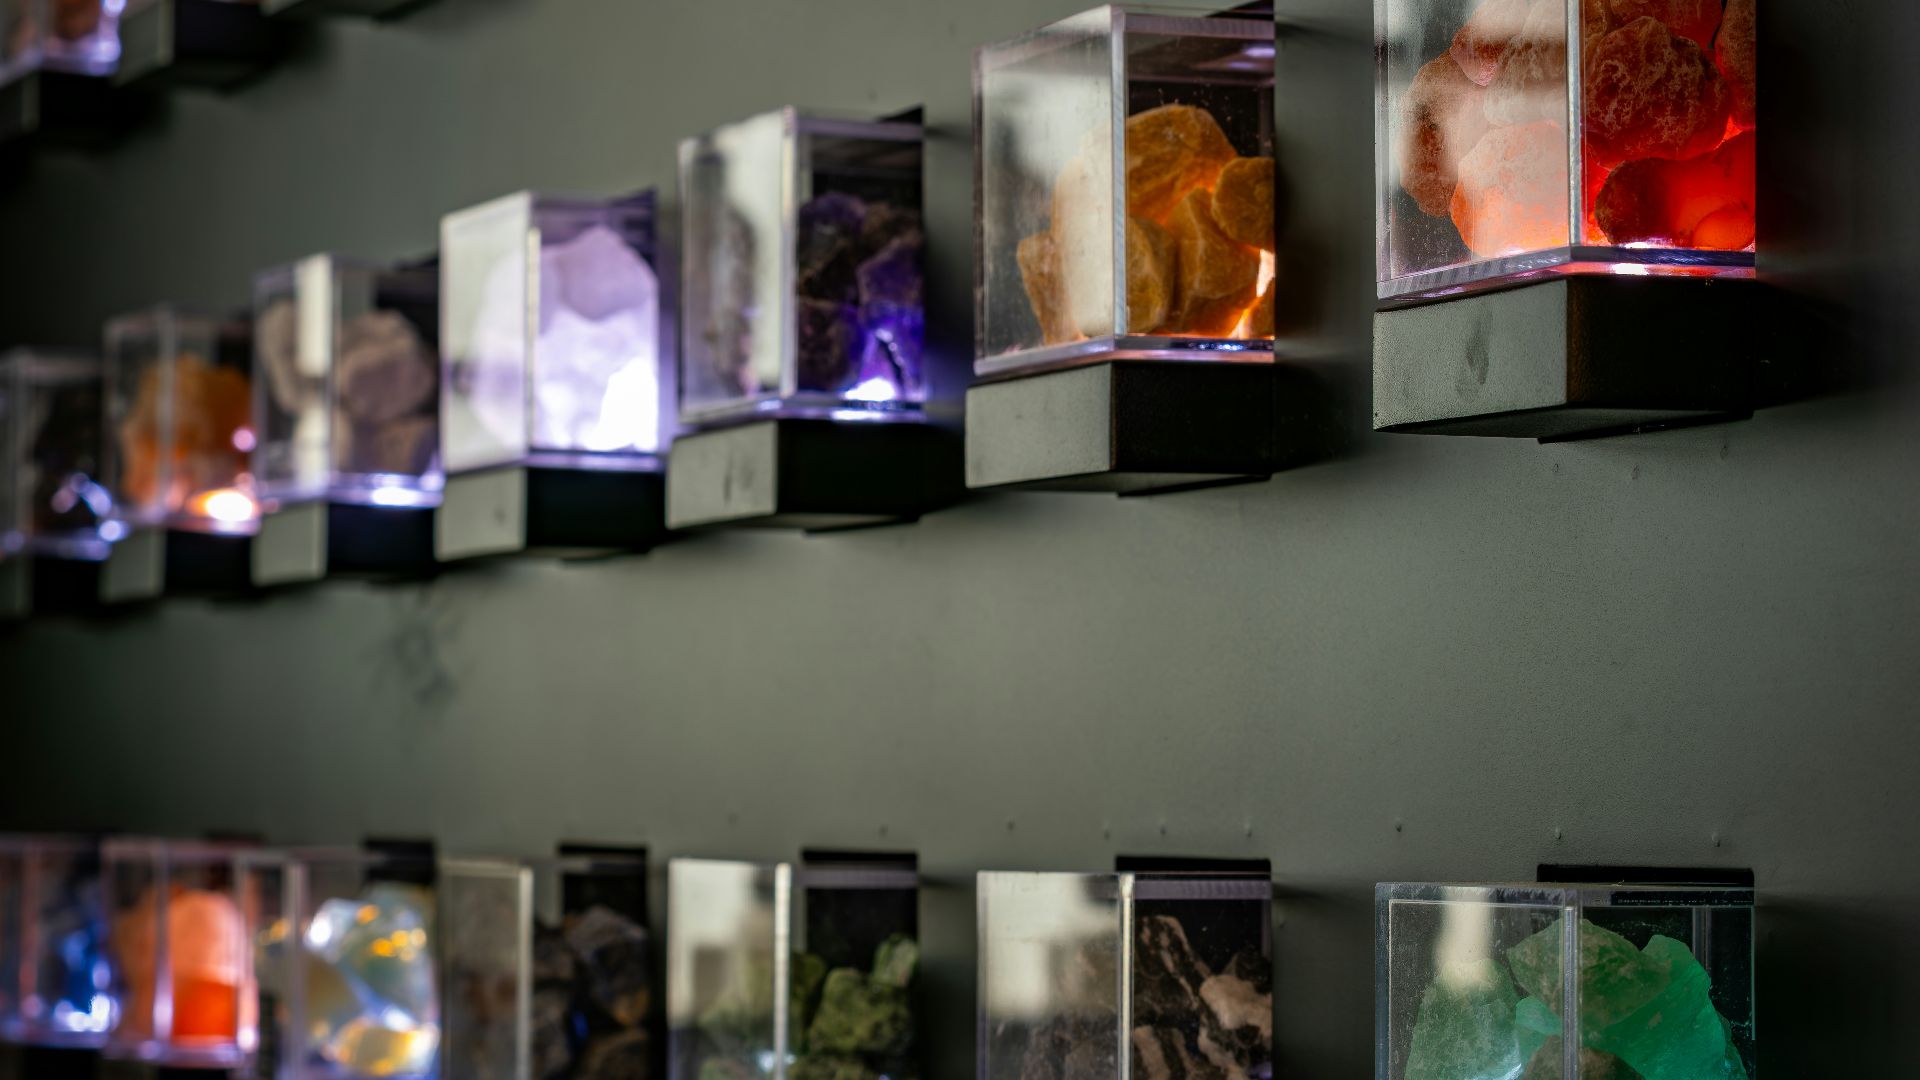
5. Choose Display Lighting That Stays Cool
Good lighting can enhance the appearance of steelbooks, translucent handhelds, collector’s editions, and statues on the shelf. Opt for lighting that doesn’t generate noticeable heat, as excessive warmth can be detrimental to plastic, rubber, paper, and older electronics.
6. Use Risers for Smaller Items
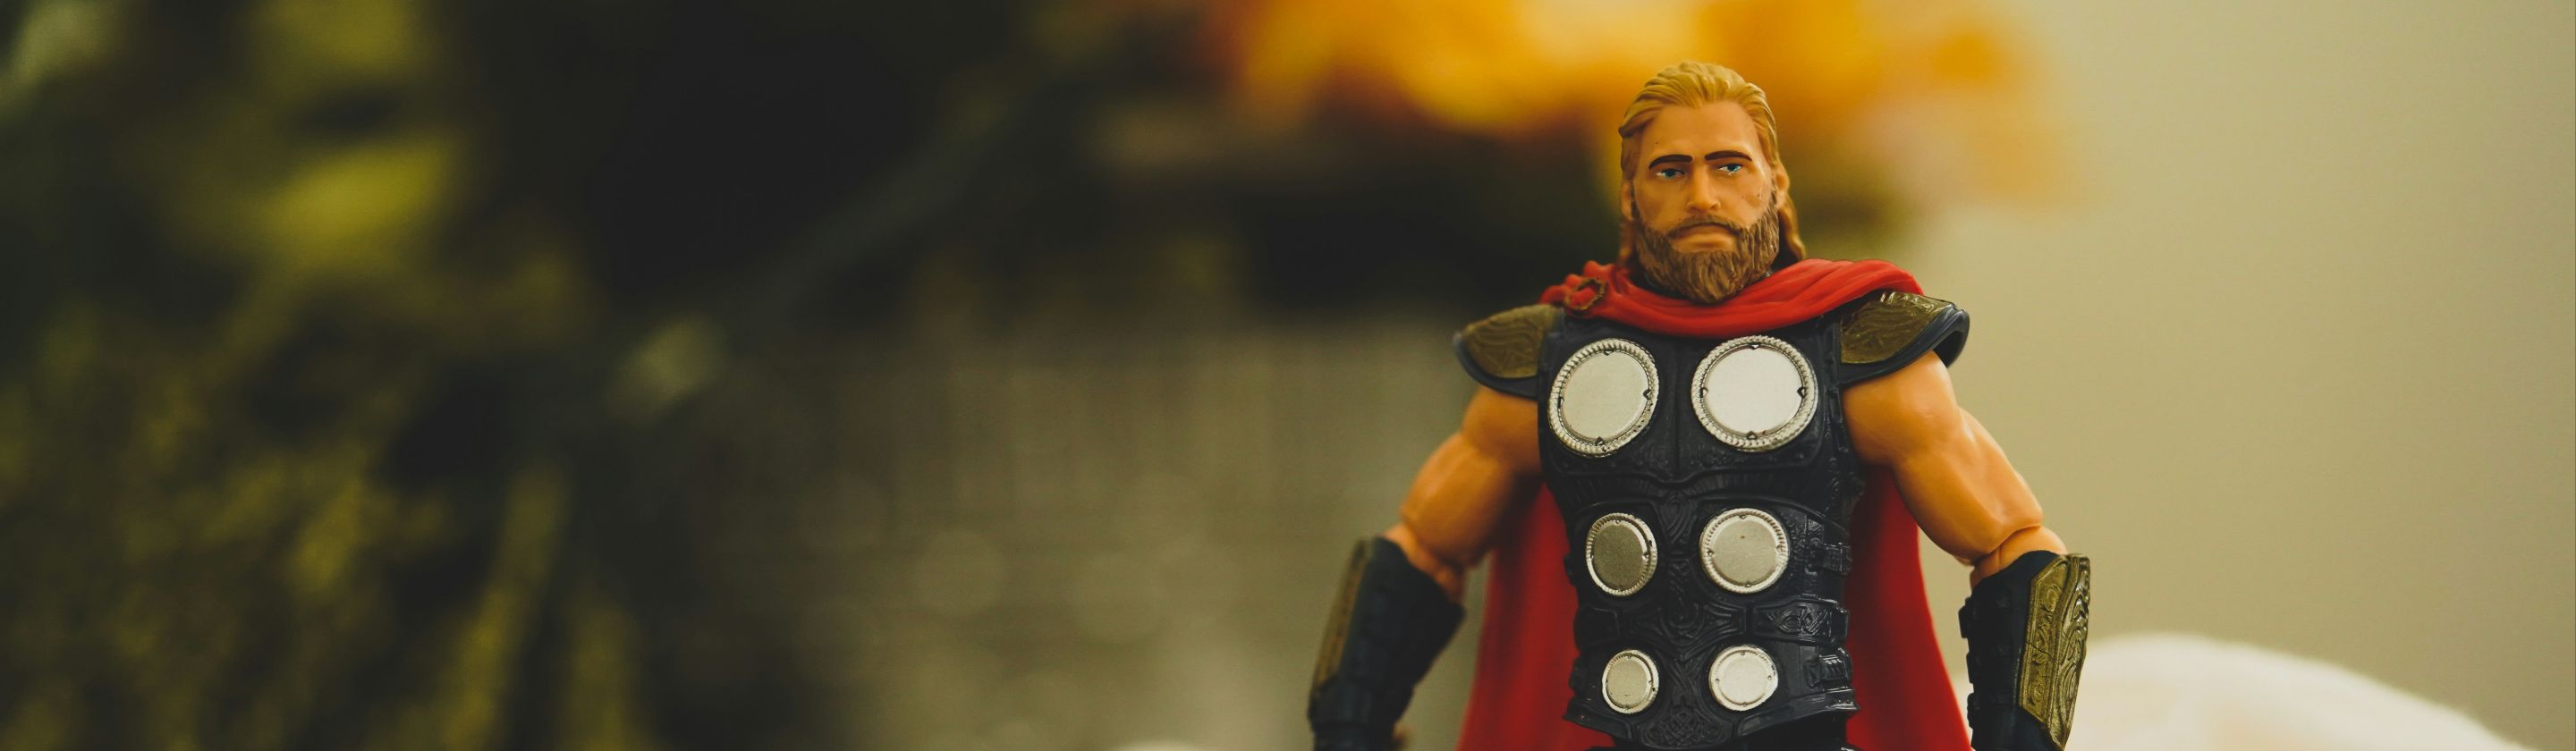
Risers help smaller collectibles remain visible rather than being hidden behind larger items. They are ideal for amiibo, mini figures, cartridge boxes, small statues, and accessories that require just that extra bit of height.
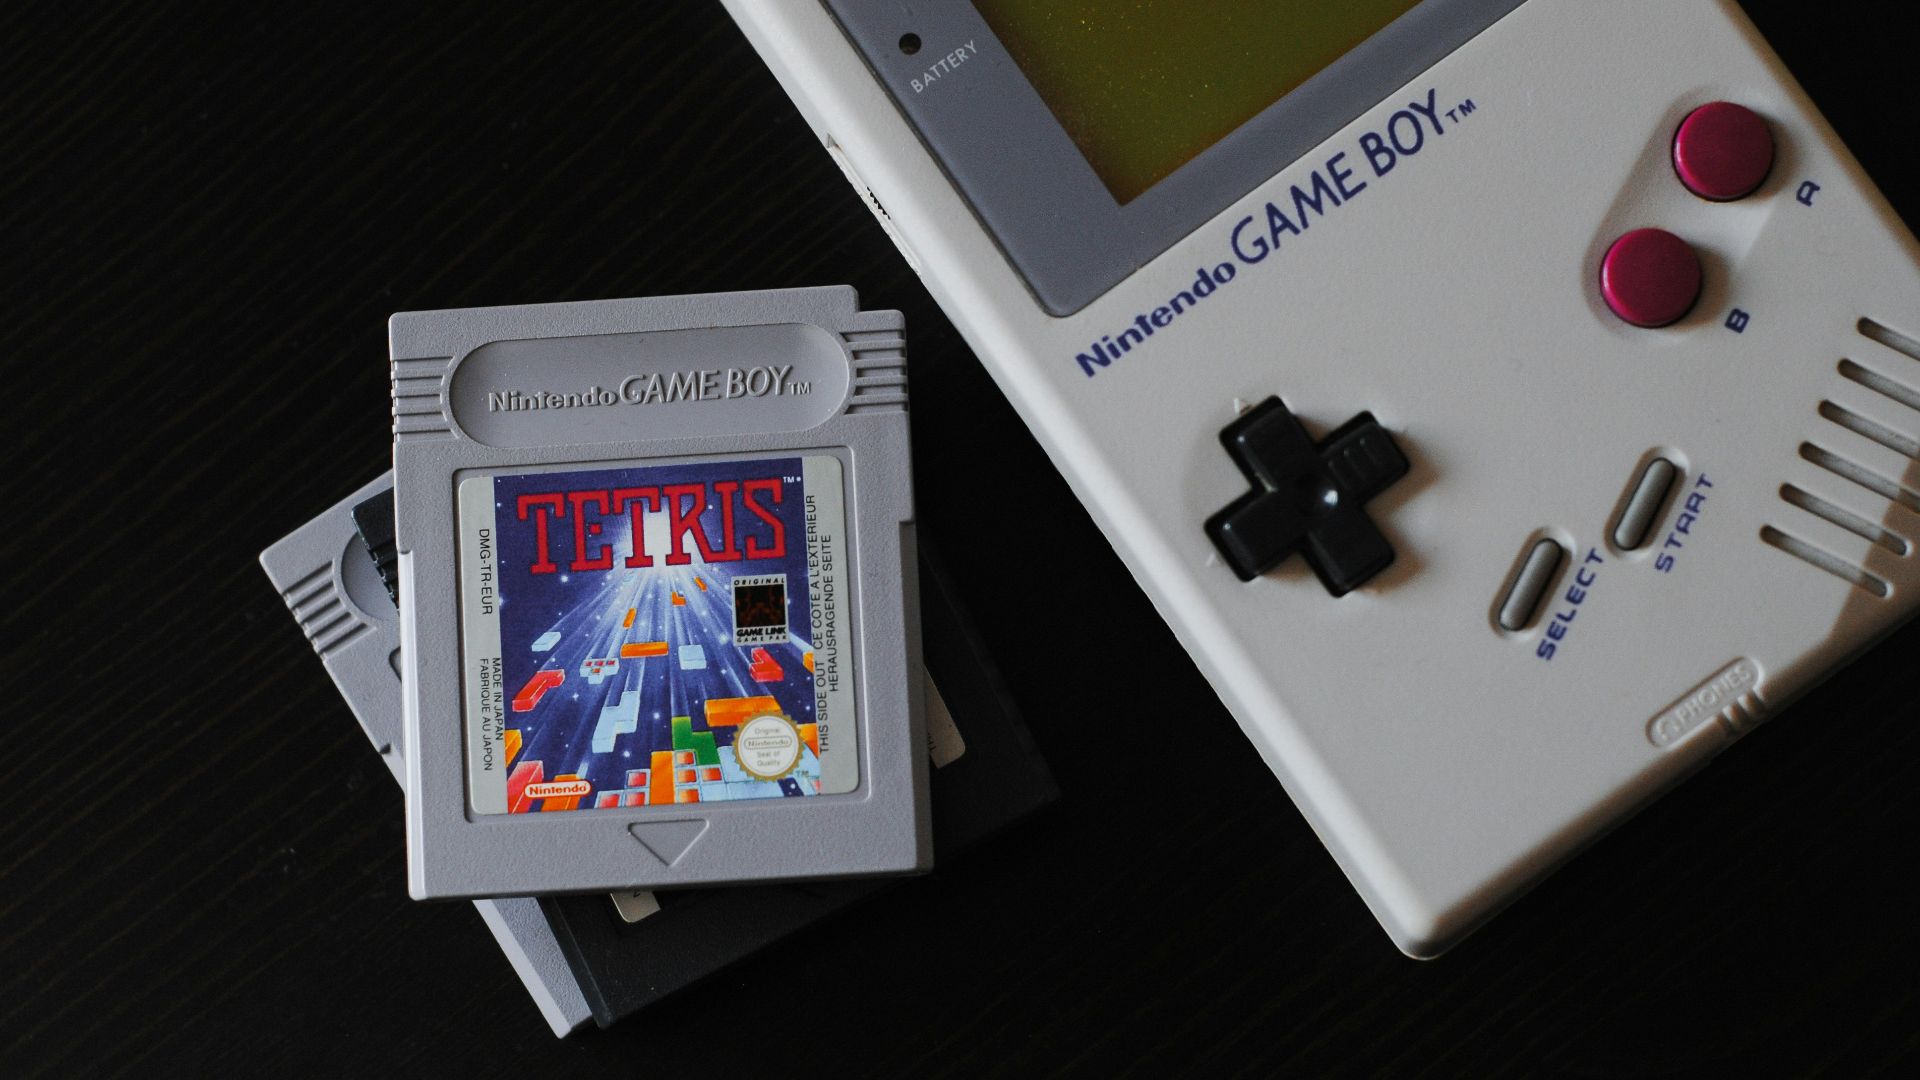
7. Store Cartridges Upright and Supported
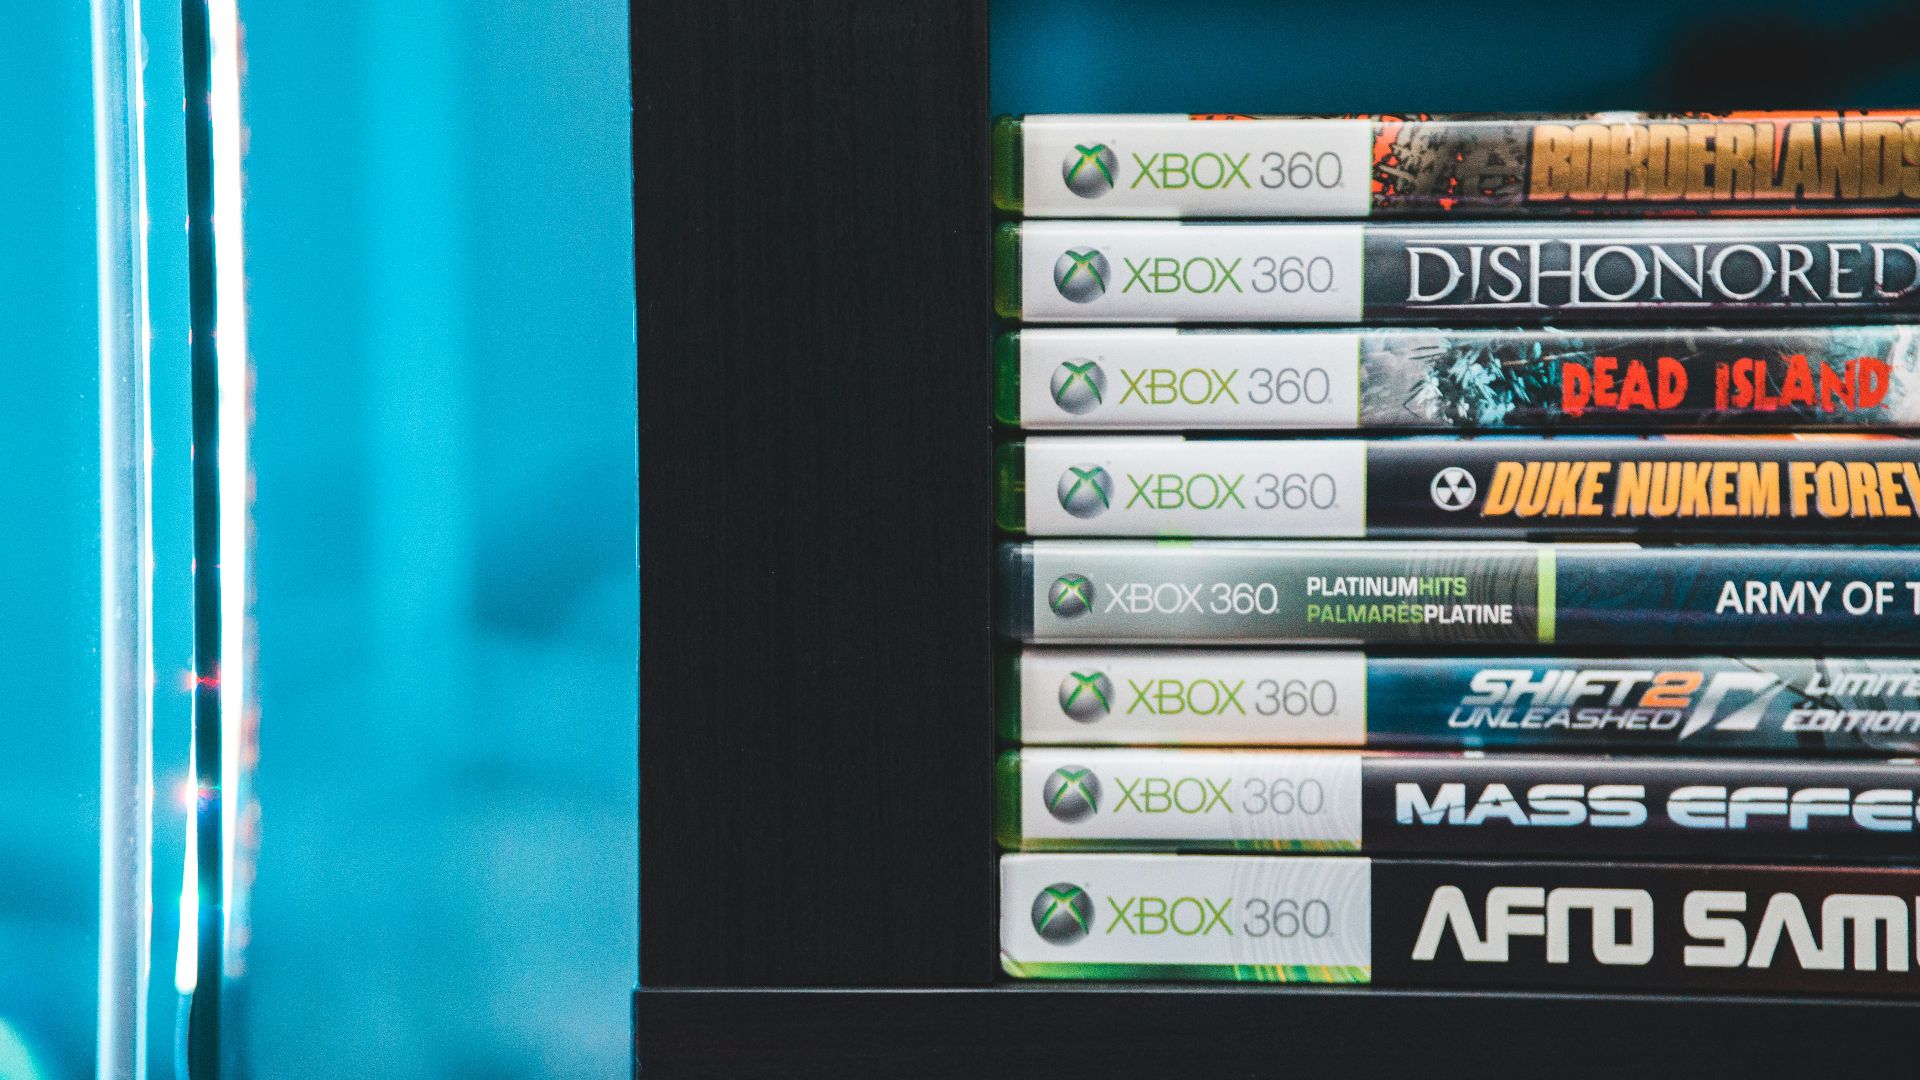
Retro cartridges look cleaner when they’re lined up by platform, franchise, color, or release era. Keep them upright with sufficient side support to prevent tipping, sliding, or rubbing against each other when you remove one.
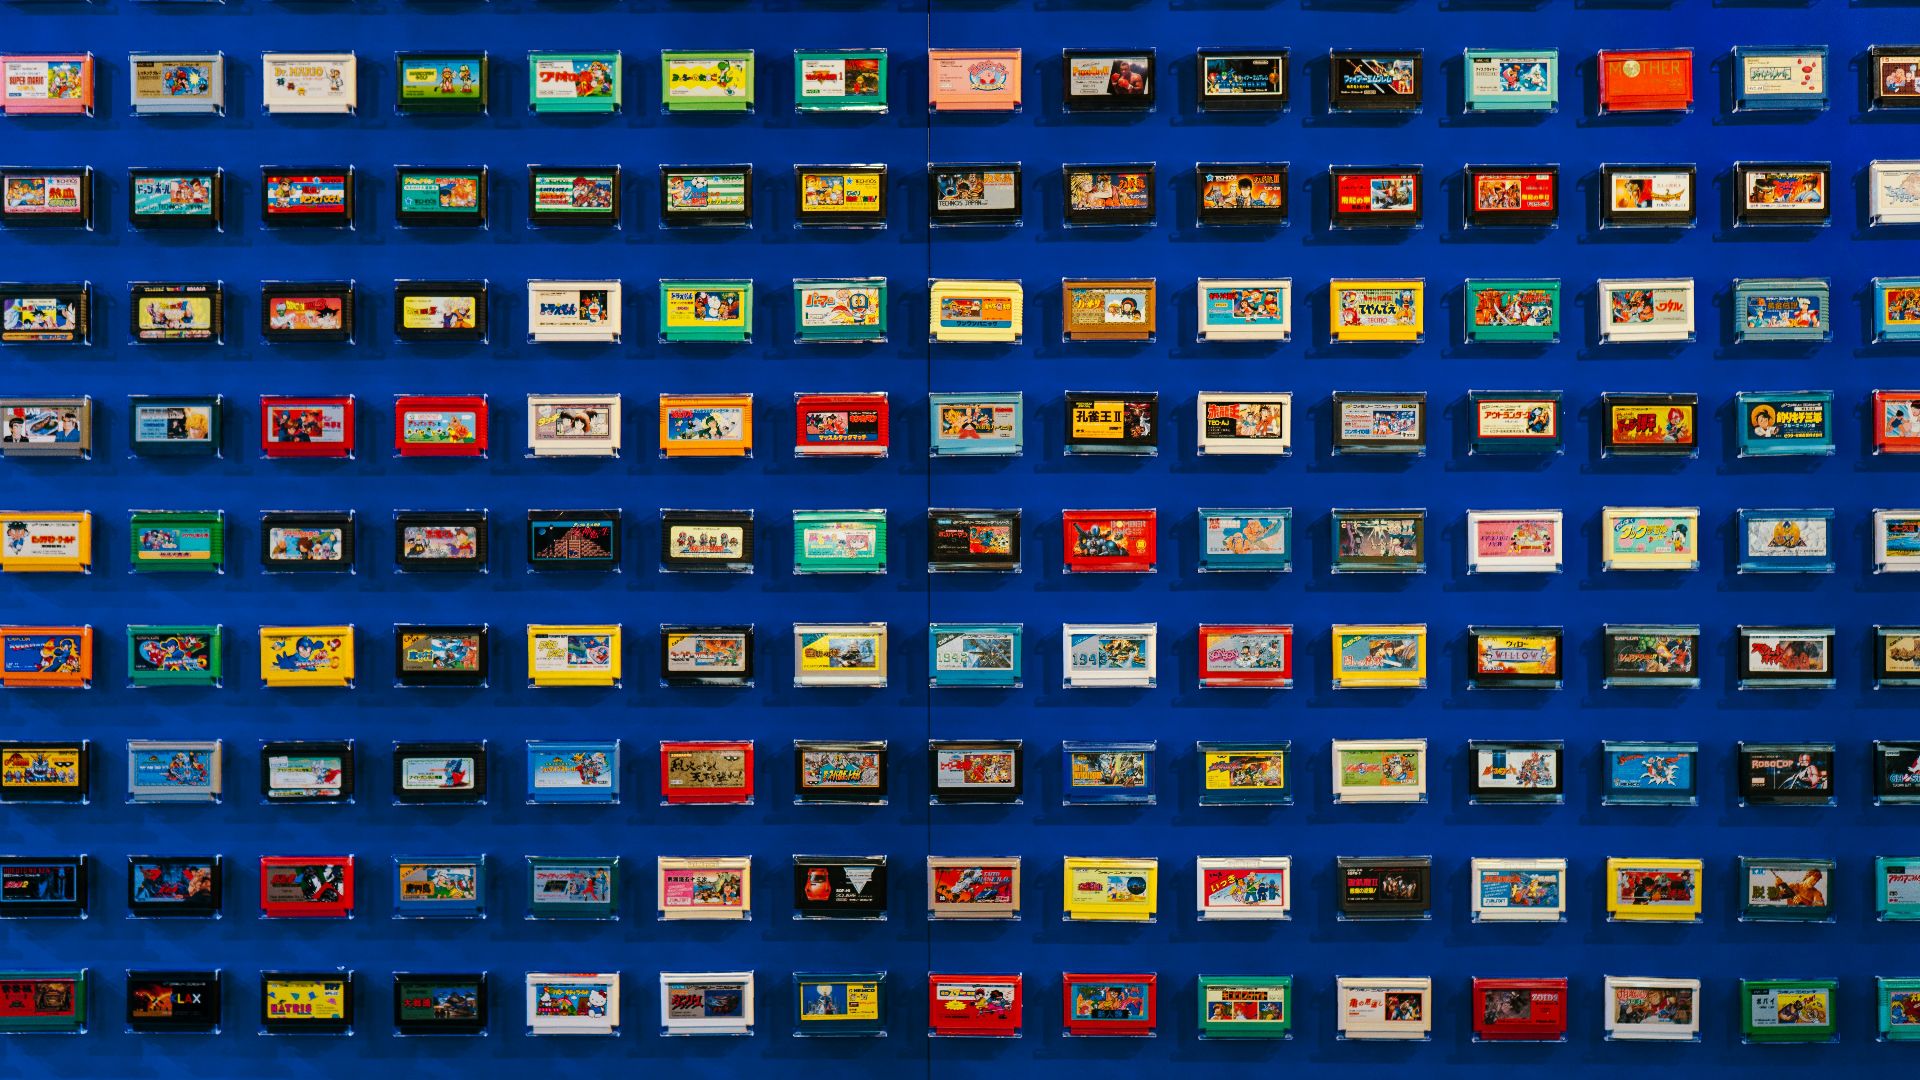
8. Give Loose Cartridges Protective Housing
Loose cartridges are easy to browse but are susceptible to dust, scuffs, and shelf wear. Simple protective cases, sleeves, or labeled boxes can keep them cleaner while still allowing for easy access when you want to play.
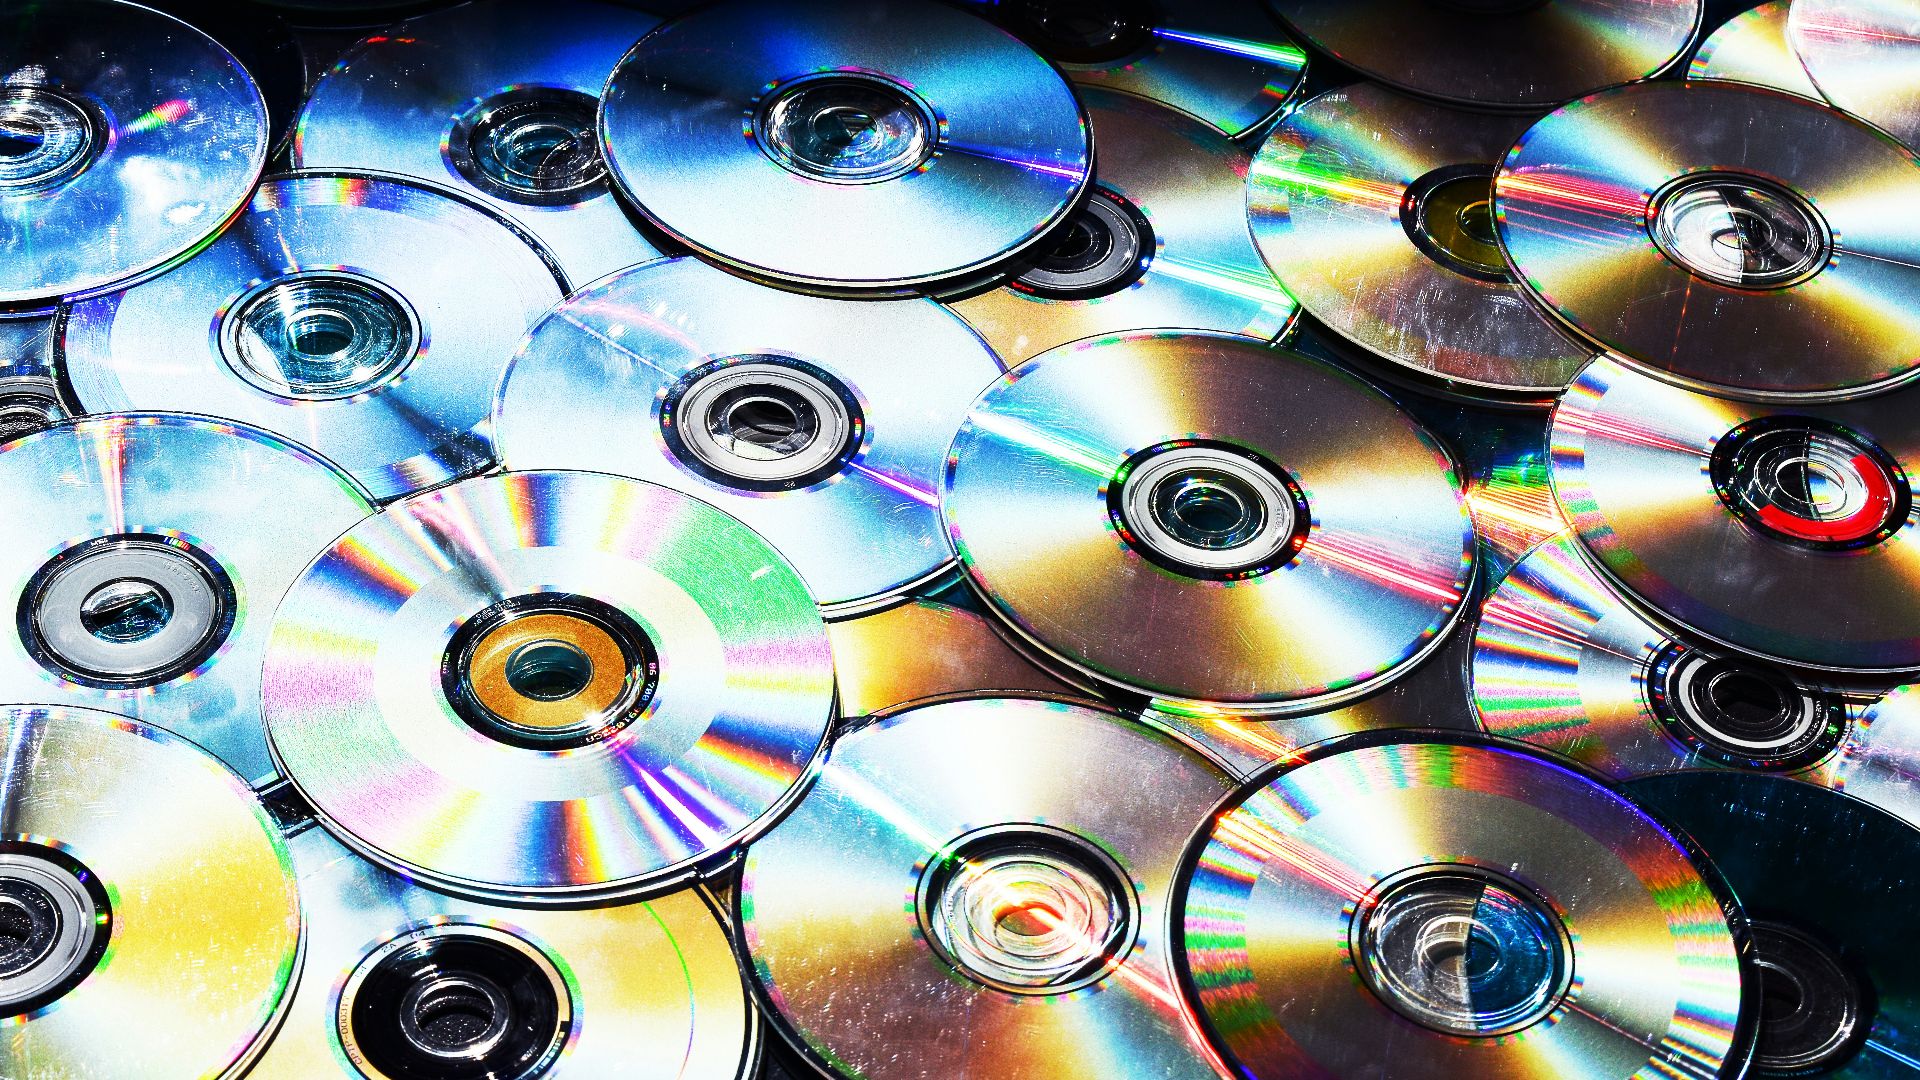
9. Treat Discs Like Collectibles
Disc-based games shouldn’t be left loose in a drawer or stacked beside the console. Keep them in cases that securely hold the disc, and handle them by the edges or center hole to keep the playable surface clean.
10. Protect Manuals, Maps, and Inserts
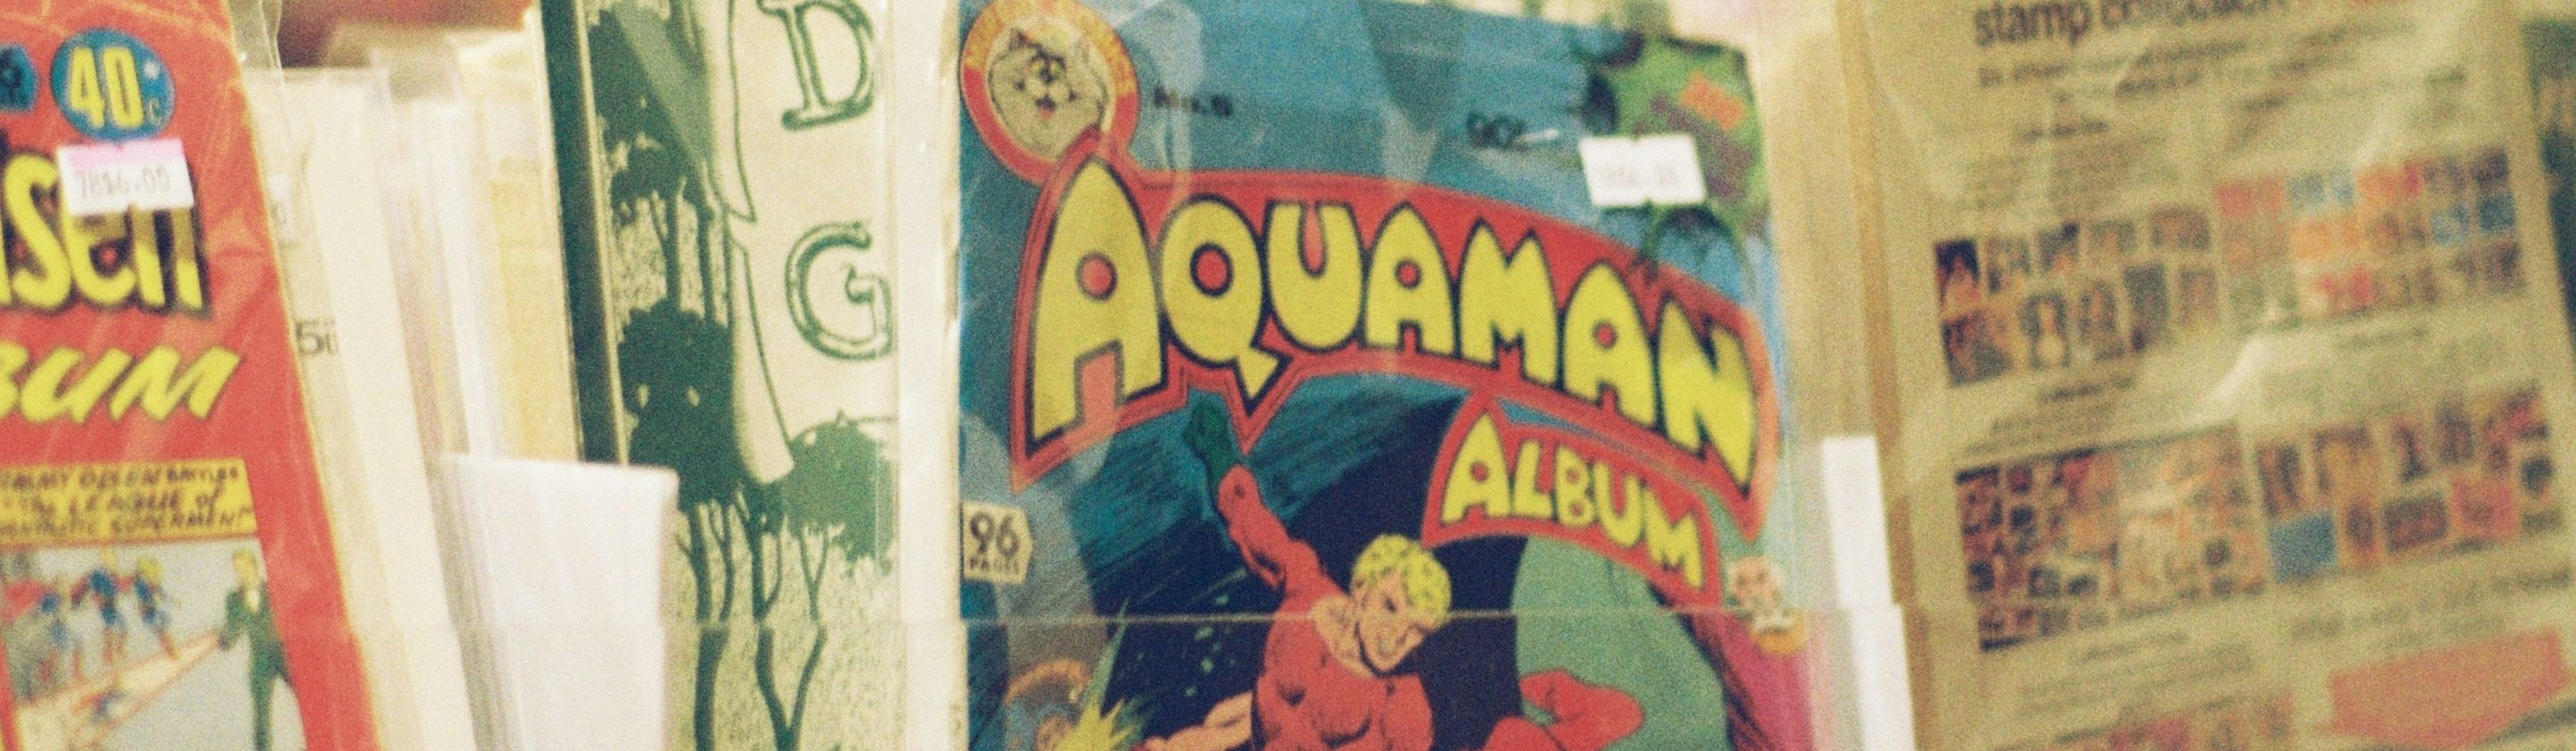
Manuals, maps, art cards, and paper inserts can wear out before the games themselves do. Use protective sleeves, folders, frames, or storage boxes designed for delicate paper. Avoid using tape, glue, rubber bands, or metal clips, as these can leave marks or dents.
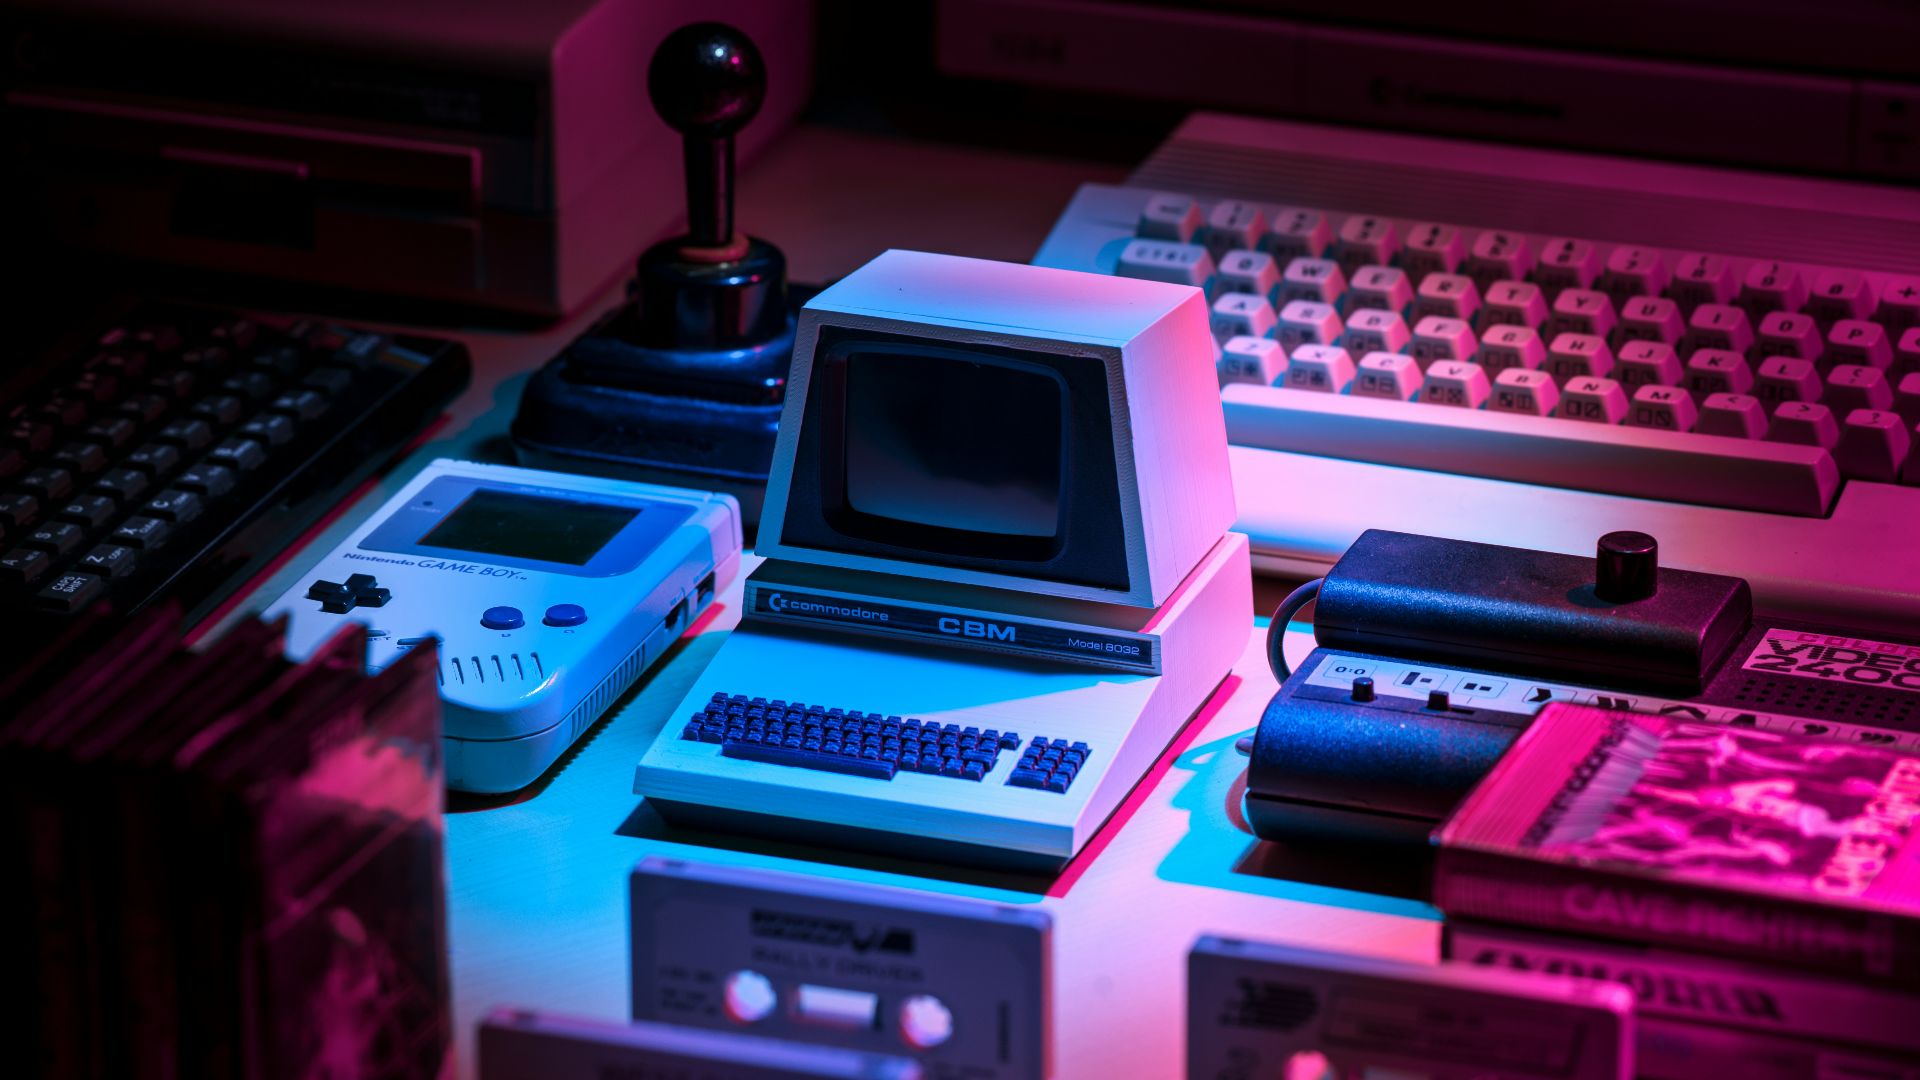
11. Give Consoles Enough Space
Consoles can look great on display, especially when grouped by generation, brand, or design era. Ensure there is enough space around them so that vents remain unblocked, cables don’t bend sharply, and the hardware isn’t crammed into shelves meant for books.
12. Anchor Tall Shelves and Cabinets
A well-organized display needs to be stable. Properly anchor tall bookcases, glass cabinets, and media units. Place large collector’s editions, boxed consoles, and heavy statues on lower shelves where they are less likely to fall.

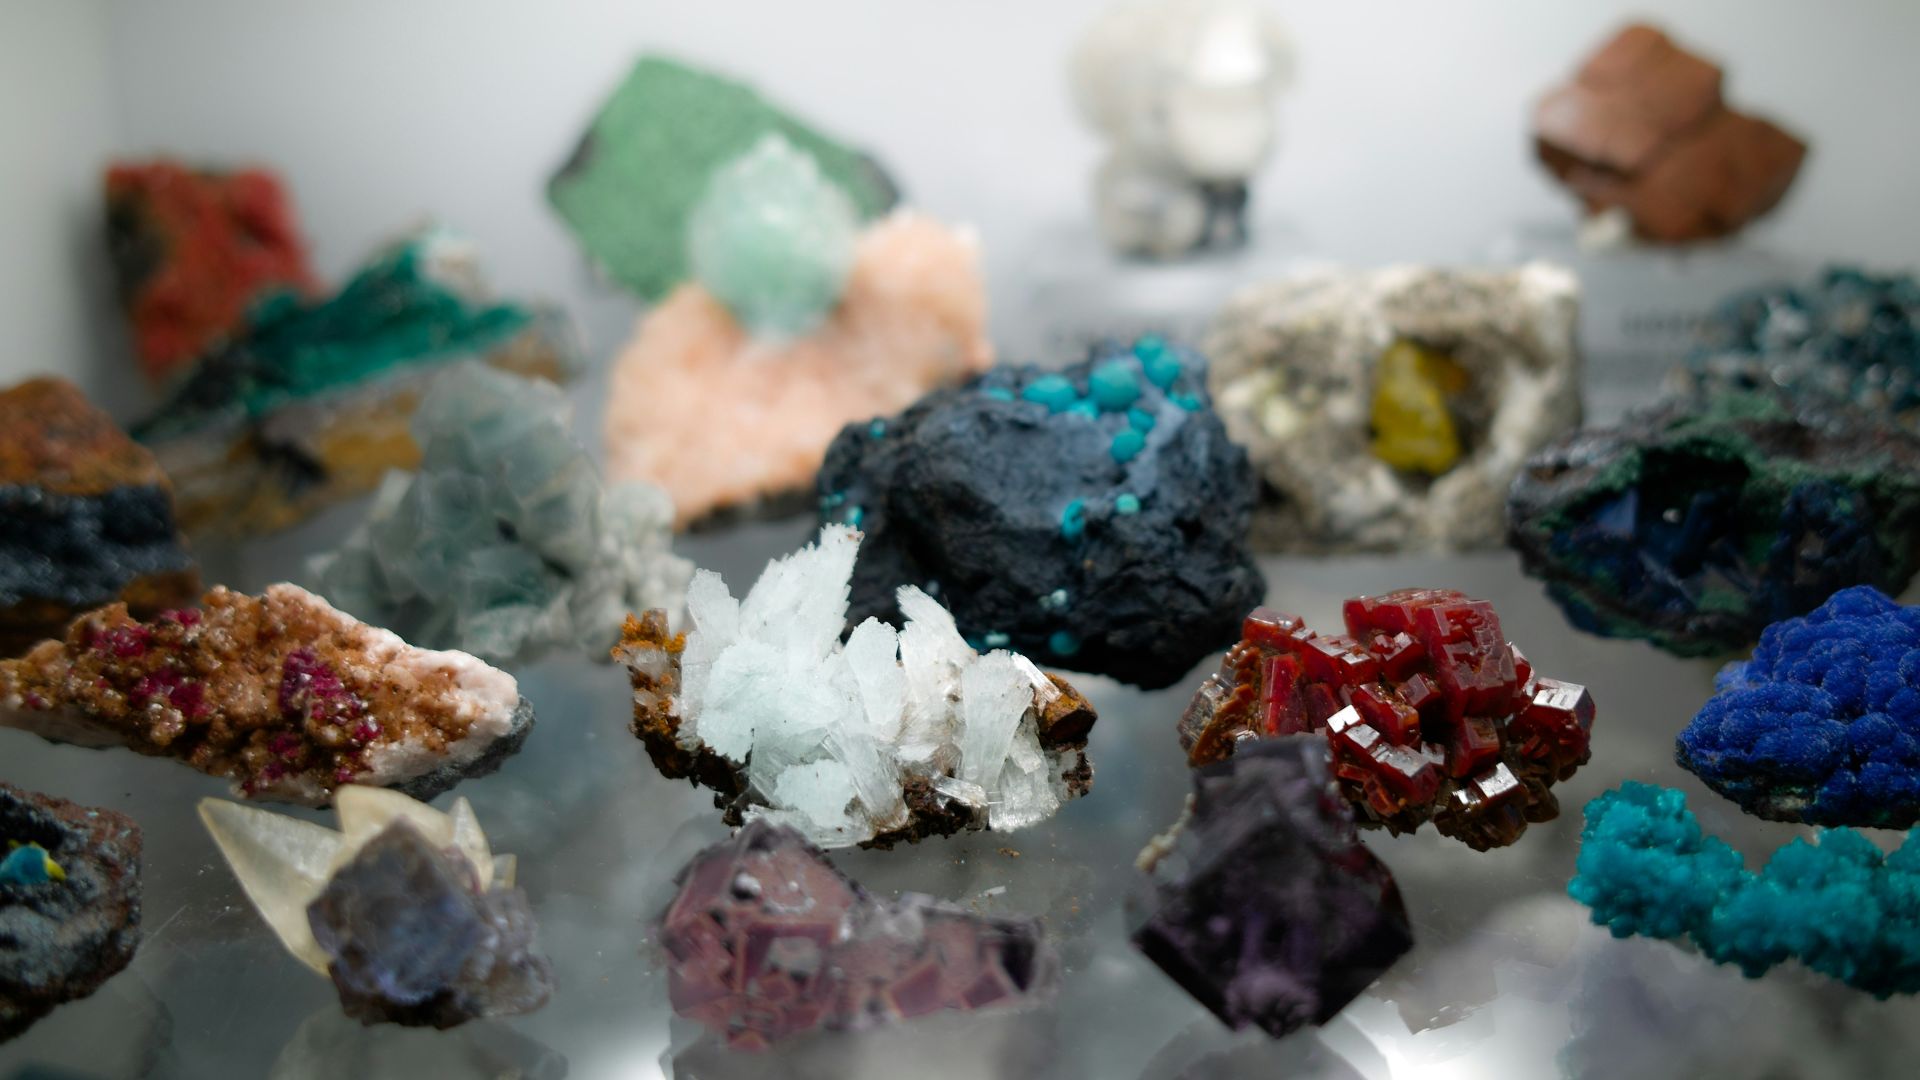
13. Rotate Rare or Fragile Pieces
Not every collectible needs to be displayed year-round. Rotating rare, delicate, or light-sensitive items keeps the room looking fresh while minimizing their exposure to light, dust, and the small bumps that come with regular use.
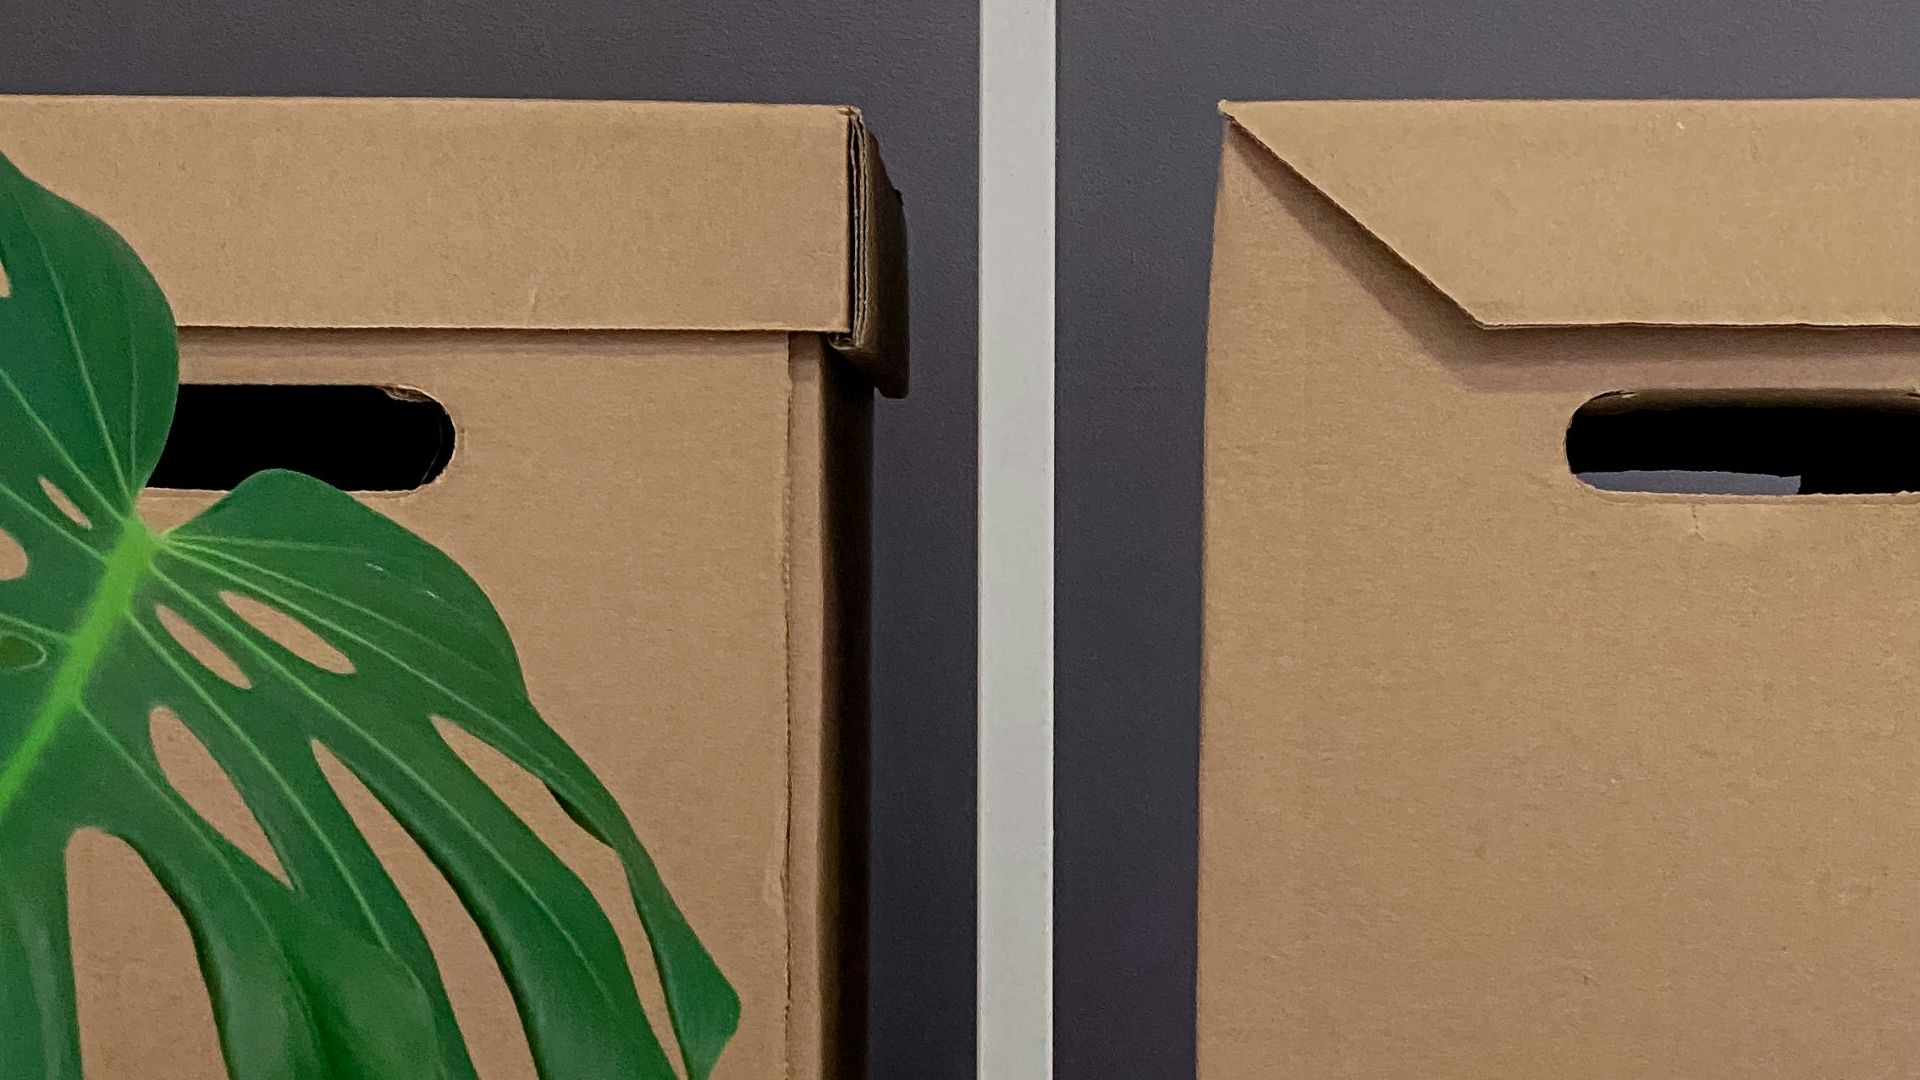
14. Give Backstock a Proper Home
A clean display typically includes extra storage nearby. Use labeled drawers or bins for additional cables, adapters, spare stands, alternate faceplates, duplicate cases, controller parts, and anything else that doesn’t require top-shelf space.
15. Build Shelves Around a Theme
A shelf organized around a single theme usually looks neater than one crammed with assorted items. Group collectibles by franchise, console generation, character, genre, color, studio, or hardware family to create a more cohesive display.
16. Separate Aging Plastic and Rubber
Older plastic and rubber components can become sticky, brittle, yellowed, warped, powdery, or unstable over time. If a controller grip, cable, figure stand, or accessory feels compromised, keep it separate from paper, cardboard, and cleaner collectibles until it can be stored safely.
17. Use Stands that Support the Shape
A stand should support the collectible in its natural position, rather than pinching or forcing it into place. Controllers, headphones, figures, boxed items, and uniquely shaped tech should be displayed to avoid bending, stretching, or applying pressure to delicate areas.
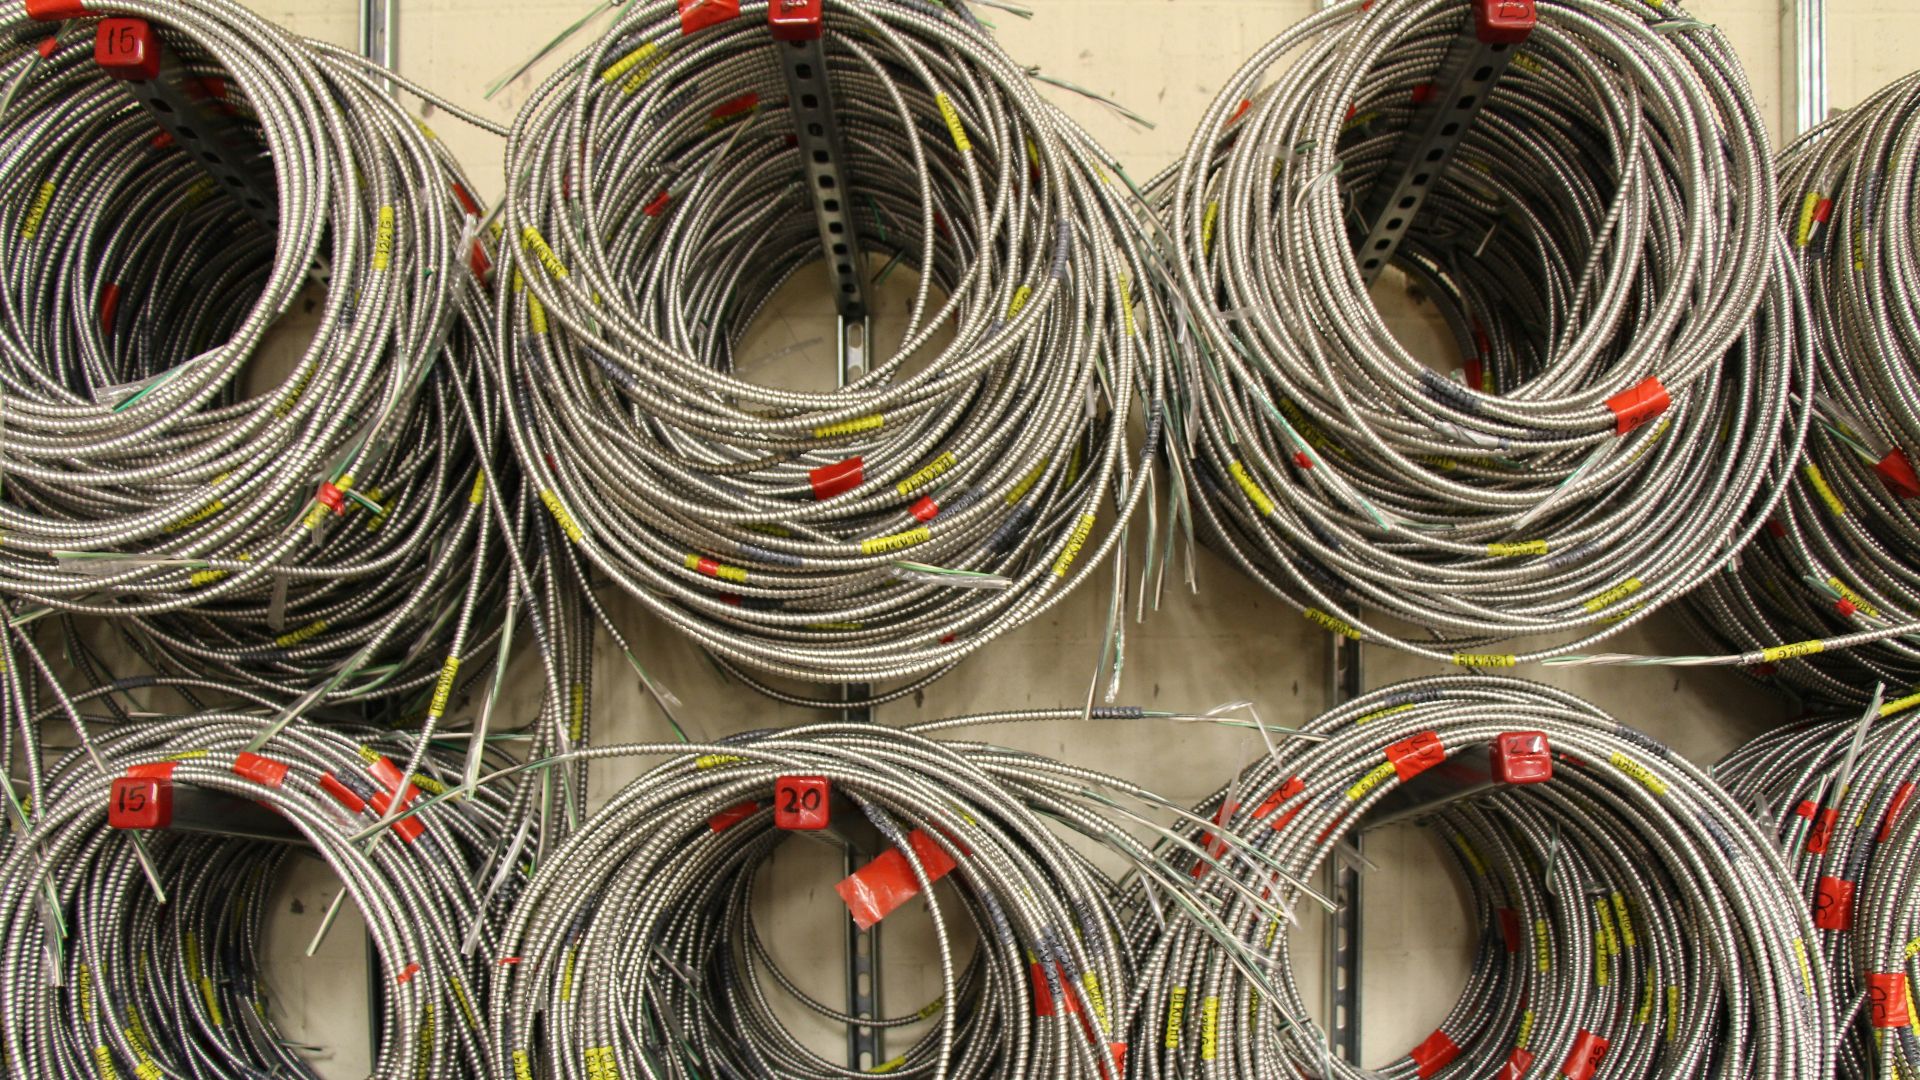
18. Make Cable Management Part of the Display
A tech shelf can quickly look messy once cords become visible. Use clips, sleeves, ties, or hidden cable boxes. Label cords for consoles or chargers you frequently unplug to make the setup easier to manage.
19. Create a Check Station for New Finds
Thrifted consoles, used games, flea market figures, and secondhand tech should be inspected before being added to the main display. Look for dust, moisture, odors, residue, cracked plastic, loose batteries, missing pieces, and anything that shouldn’t be near cleaner collectibles.
20. Photograph the Finished Setup
Once your shelves are arranged, take wide photos of the entire display, along with close-ups of standout pieces. These photos can help with inventory, make it easier to reset shelves after cleaning, and reveal any clutter, awkward spacing, or messy cables that you might overlook while standing in front of the display.