
Your TV Is Sabotaging Your Watching
You bought a great TV, brought it home, plugged it in, and immediately started watching whatever your favorite streaming service is at this moment. The picture looked fine at first, maybe even impressive, and you moved on with your life. What you probably didn't realize is that your TV came out of the box with settings designed to look good under the fluorescent lights of a big-box store, not in your actual living room. Here's what's going wrong and how to actually fix it.
 Glenn Carstens-Peters on Unsplash
1. Motion Smoothing
Your TV is interpolating extra frames between the real ones to make motion look smoother, and this is why every movie looks like it was shot on a camcorder at your cousin's wedding. The result is that 24-frames-per-second cinema suddenly looks like 60-frames-per-second video, which is what we associate with live TV and low-budget content.

2. Dynamic Contrast
Most TVs ship with a dynamic contrast feature that constantly adjusts the backlight based on what's happening on screen, and while this might make a bright scene look punchier, it ruins anything with subtle gradations in dark areas.
3. Vivid Or Dynamic
Your TV almost certainly defaulted to a picture mode called Vivid or Dynamic, and this mode is calibrated to look eye-catching in a brightly lit store where it's competing with 47 other TVs on the same wall. The color temperature is pushed way too cool, meaning everything has a bluish tint, and the saturation is cranked up so that reds look radioactive and skin tones veer into orange territory.

4. Artificial Sharpening
There's a sharpening filter running that's supposed to make the image look crisper, but what it actually does is detect edges and artificially enhance them. If you look closely at someone's profile against a bright background, you'll probably see a weird light outline around their head that shouldn't be there.

5. Brightness Settings
Most people have both settings cranked way too high because they assume more brightness equals a better picture. If the backlight is too high, you'll get washed-out blacks and reduced contrast, plus you'll be shining what's essentially a flashlight into your eyes for hours at a time.

6. Noise Reduction
Your TV has a noise reduction feature designed to clean up analog signal interference that hasn't been a problem since we stopped using antennas, but it's still on by default, and it's smoothing away the natural film grain that's supposed to be part of the image.

7. The Color Temperature
TVs default to a cool color temperature because blue-tinted images pop more in showrooms, but this makes everything look unnaturally cold and gives people a weird pallor. A proper color temperature for home viewing should be closer to 6500K, which on most TVs corresponds to the Warm or Warm2 setting.

8. Black Level Settings
There's an HDMI black level setting buried in your TV's menus that needs to match the setting on your source device, and if they don't match, you either get crushed blacks where dark details disappear entirely or elevated blacks where nothing ever looks truly dark.

9. Input Lag
If you play video games on your TV and haven't enabled Game Mode, you're experiencing significant input lag between when you press a button and when the action appears on screen. All those processing features take time to execute, and that processing time adds delay between the source signal and what you actually see.

10. Local Dimming
If you have a TV with local dimming capability, this feature is either turned off entirely or set to a high level that causes the zones to shift noticeably during scenes with mixed brightness. When it's off, you lose potential contrast and black level performance, and when it's set too high, you get visible blooming around bright objects on dark backgrounds.

1. Turn Off Motion Smoothing
Go into your picture settings and find whatever motion processing your TV offers, which might be called Auto Motion Plus, MotionFlow, TruMotion, or Motion Enhancement, and turn it off completely.

2. Dynamic Contrast
Find the dynamic contrast, dynamic tone mapping, or contrast enhancer setting and turn it off, or set it to the lowest available level. Your contrast and black levels should be static settings that don't change based on the content being displayed.

3. Change Your Picture Mode
Switch away from Vivid or Dynamic and select Movie, Cinema, or, if your TV has it, Filmmaker Mode, which was specifically designed to display content closer to how directors intend it to look. These modes typically use a warmer color temperature, more accurate color saturation, and less aggressive processing.
4. Disable All Sharpness
Find your sharpness or sharpening setting and either turn it off completely or set the value to zero. The content you're watching already has all the details that were captured during filming.

5. Calibrate
Lower your backlight to a level that's comfortable for your viewing environment, which is usually somewhere in the 30-50 range on most TVs, then adjust your brightness setting using a test pattern that shows bars from pure black to just above black. You should be able to see a difference between true black and the bars that are just barely brighter.
6. Noise Reduction
Locate the noise reduction, digital noise reduction, or MPEG noise reduction setting and disable it completely, because you're watching digital sources that don't have analog noise. Film grain is not a defect that needs to be corrected, especially when you're watching a movie that was shot on 35mm film.

7. Color Temperature
Change your color temperature from Cool, Normal, or Standard to Warm or Warm2, and resist the urge to change it back, even though it will look orange at first. After you've watched content with the warm setting for an evening, go back and look at the cool setting again, and you'll be shocked at how blue it looks.
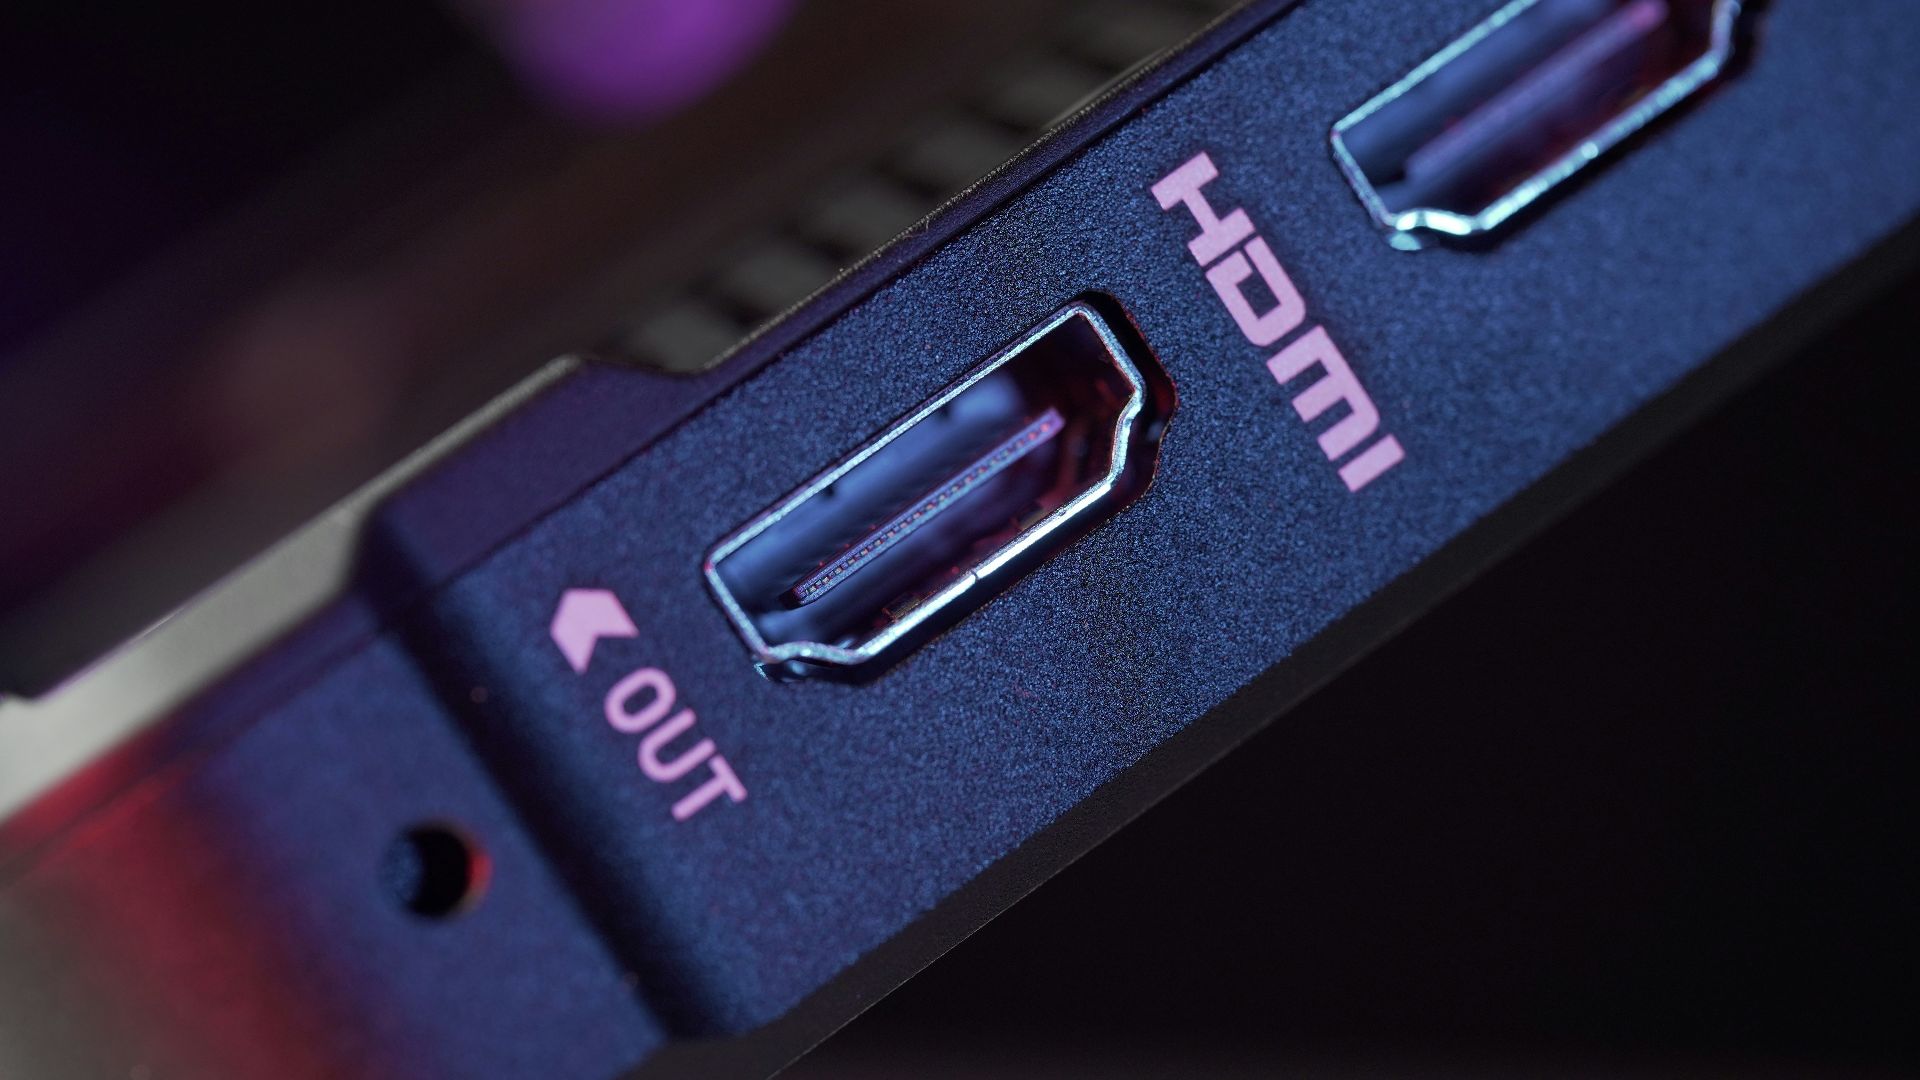
8. Match Your HDMI Levels
Find the HDMI black level, HDMI RGB range, or input black level setting on both your TV and your source device, and make sure they match. Most external devices like game consoles and streaming boxes default to a limited range, so you'll probably want to set your TV to limited or low rather than full or high.
9. Enable Game Mode
If you play video games, find the Game Mode, PC Mode, or low latency setting in your TV's picture options and turn it on whenever you're gaming. This will disable most of the processing features we've been discussing, which is fine because you care more about responsive controls than perfect image quality.
10. Local Dimming
If your TV has local dimming, turn it on and set it to a medium or low level, then watch some content that has bright objects on dark backgrounds. If you see noticeable halos or blooming around the bright areas, dial the setting down until it's less obvious.