


A custom gaming chair can give you better control over comfort, support, appearance, and long-term durability than a standard model bought directly from a store. Instead of accepting fixed armrests, limited padding, or a seat shape that doesn’t suit your body, you can select components around the way you actually sit and play. The project doesn’t need to involve complex upholstery work or a completely original frame, either, because many first-time builders start by modifying a solid office chair. This approach keeps the project manageable while still leaving plenty of room for useful personalization.
The most successful builds place ergonomics ahead of dramatic styling, since a chair that looks impressive won’t feel worthwhile if it causes discomfort after an hour. Your height, desk position, preferred posture, available floor space, and typical gaming sessions should all guide the design. Careful planning also helps you avoid spending money on decorative upgrades before the basic structure is stable, adjustable, and safe. Measuring your current setup before buying parts can prevent compatibility problems later.
Start With A Strong Ergonomic Foundation
Begin by choosing a dependable chair frame or base that can comfortably support your weight and withstand repeated movement. A five-point base is generally more stable than one with fewer legs, while suitable casters should roll smoothly on the flooring in your gaming area. Check the condition and rated capacity of every reused part, especially if you’re starting with an older office chair. Any cracks, loose welds, bent brackets, or damaged mounting points should be treated as reasons to replace the component rather than repair it casually.
Seat height should allow your feet to rest flat on the floor or on a properly positioned footrest. Your knees will usually feel most comfortable near a right angle, although individual proportions and mobility needs can change the ideal position. The desk should also let your shoulders remain relaxed rather than forcing you to raise your arms while using the keyboard and mouse.
Back support deserves equal attention because gaming sessions often encourage people to lean forward or remain still for long periods. A backrest with adjustable recline and firm lumbar support can help you change positions without losing support through the lower spine. Rather than forcing your body into one supposedly perfect posture, build the chair so you can make small adjustments throughout the day.
Choose Padding And Materials Carefully
Foam density and thickness have a major effect on how the finished chair feels. Very soft foam can seem comfortable at first but may compress quickly and leave you resting against the hard seat underneath. Medium- or high-density upholstery foam usually provides more dependable support, although the right firmness depends on your weight and personal preference.
The seat cushion should distribute pressure across a broad area without pressing sharply behind your knees. Adding excessive padding can raise your body too high, interfere with the armrests, or reduce the usefulness of the chair’s lumbar support. Test temporary layers before attaching anything permanently so you can judge the height, firmness, and seating angle together.
Upholstery affects temperature control as well as appearance. Breathable woven fabric generally allows more airflow, while vinyl and many synthetic leather coverings are easier to wipe clean but may feel warmer during long sessions. Whichever material you choose, pull it evenly across the cushion and secure it carefully so folds, loose sections, and exposed fasteners don’t create uncomfortable pressure points.
Add Adjustments Without Sacrificing Safety
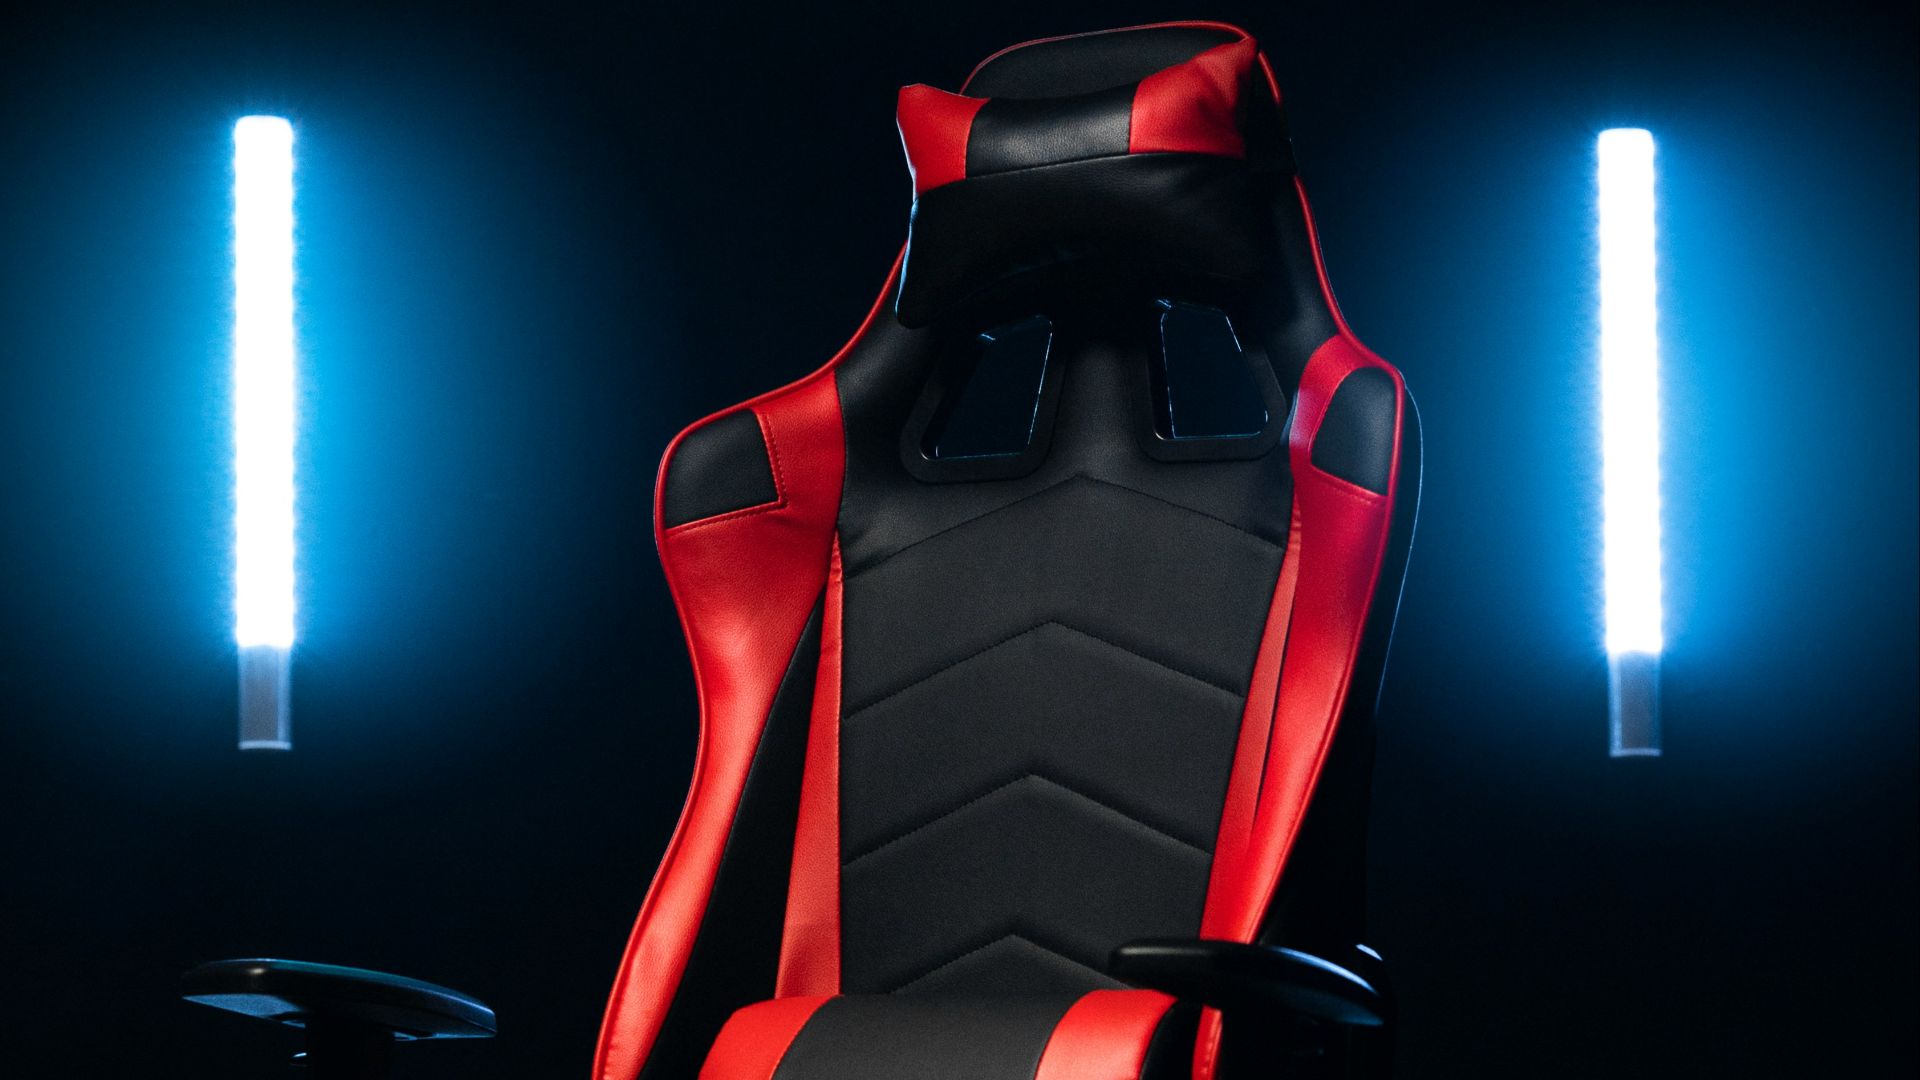
Adjustable armrests can reduce strain by supporting your forearms without lifting your shoulders. Their height and width should let you reach the controls comfortably while keeping your elbows relatively close to your sides. If the original armrests sit too far apart or feel too hard, replacement pads or compatible adjustable mounts may solve the problem without requiring major structural changes.
A headrest can be useful when reclining, but it shouldn’t push your head forward during upright play. Position it so that it supports the natural curve near the back of your head or upper neck rather than forcing your chin downward. Removable or height-adjustable designs are often more practical because you can reposition them for gaming, watching videos, or resting.
Be cautious when modifying the gas lift, tilt mechanism, mounting plates, or load-bearing frame. Drilling into structural components, combining incompatible hardware, or using weak fasteners can cause sudden failure and injury. Whenever possible, use components designed for the chair’s mounting pattern, tighten bolts according to the manufacturer’s guidance, and inspect the finished build before placing your full weight on it.
A custom gaming chair works best when every upgrade supports your body instead of merely copying the appearance of a racing seat. Begin with a stable base, set the chair at the correct height, and test each change before adding the next layer of complexity. By prioritizing adjustability, supportive padding, breathable materials, and secure construction, you can create a chair that feels personal while remaining practical for everyday use.